Nooooooooo, on my tags!
Okay, I am being a bit corny but it's that time of year right?
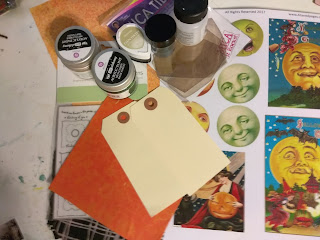
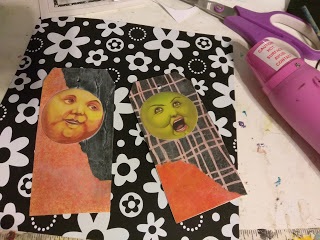
In honor of our tag challenge, today I'm giving you TWO tags! With this fun Halloween Moons collage sheet, I couldn't just pick one of these fun fellows, so you get one for Autumn and one for Halloween!
Supplies:
Halloween Moons collage sheet
Adhesive
Manila Tags
Paper for backgrounds
Assorted Ribbon
Art Alchemy Paints - Dragon's Eye and Dark Forest
Memento Inker
Rub-On embellishments, miscellaneous stickers and other collage elements from my stash
Some starting elements. I didn't use all of these things and I added a few, but this gives you an idea of my process.
I started by gluing down my papers to the tags. Then I trim around the tag.
Next, I glue down another layer of decorative paper to give a little more texture and interest. Once dry, I trim off any excess and then "fussy cut" my moonies from the collage sheet.
I glue down my moon men on to the backgrounds I think look best with each.
Now I add all my other collage elements, stickers, words, rub-on accents, etc. I use my ink pad around the edges of each tag to give a grunged appearance and a little contrast to each tag. I poke the hole through the applied paper, where the original tag hole is, then I use my Art Alchemy paints randomly around the edges and here and there on the body of the tag to add some nice shimmer. These paints are very transparent when you use one layer so it doesn't really cover up the patterns. If I wanted to add more, it would come out a nice solid metallic shimmer which is also nice. To finish them off, I add some ribbon through the tag holes.
These make great additions to any hostess gifts, bottles of cider, cookie mixes, baked goods, treat bags, etc. You could even write a recipe on the back of the tag and attach it to a dry mix of ingredients to gift to someone special!
I love tags, they are not only fun to make, they are useful too!
Until next time!
Jen


Comments
Post a Comment