Welcome!
For the month of August the Altered Pages Design Team is a proud product partner with Prima Marketing...color us lucky!
For my first project this month I have created a floral wall hanging from an extra piece from this fun steampunk gearbook, which you can find here.
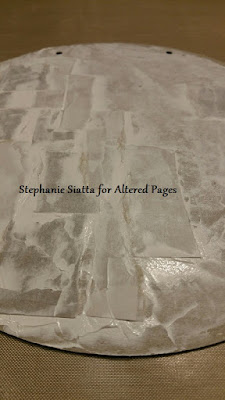
You can see below that I began with round chipboard.
I added torn piece of tags and product packaging...I keep these little bits as they are great for adding texture and it is a great way to recycle.
After I adhered the bits down with Tacky Glue I added a thin coat of white gesso using my craft stick or palette knife.
Next, comes color in greens and pale blues and a bit more texture. This was done with inks and acrylic paints found here.
I then added a bit more texture with vintage text pages... definitely one of my go to tools.
After that was adhered using a bit more gesso I came in with this versatile feather stencil and the prettiest Prima Alchemy acrylic paint in Metallique White Pearl.
A little more ink to give it some contrast using my StazOn in Cactus Green.
Now, for the final touches. A pretty butterfly from Prima that I added some extra color to using more of the amazing Alchemy acrylic paints in Sparks Ginger Magic and Dark Forrest Green. The flowers and this butterfly are available in this gorgeous Prima Troika Plum floral pack.
I also added a collage image of a little cutie pie trying to catch herself a butterfly. You can find many, MANY collage images here.
That sparkly texture you see sprinkled about it is small mica bits. And, the green dots were achieved with that Dark Forrest Green paint and a bit of punchinella using a makeup sponge. I also added a bit of shimmering green cording for extra detail and then again to use for hanging...I combined the shimmer cord with brown jute and a few beads because it just sounded fun.
I hope you enjoyed!
Thanks for joining me.
~Steph


Comments
Post a Comment