
Hello again!
During the month of June, you will see our Design Team focusing on projects that incorporate wood. We are very proud to be partnering with Foundations Decor to make this a big success.
Today, I am starting Phase 1 of a two-part project where I create a cute little "Home" for a very pretty cupcake. Sounds a little funny, I know, but come along and you won't be sorry.
Here is a little sneak peak...


 Here you see that side one is done. Yep, this is going to be a two-sided, two-part project. It's nice to be able to change up the color scheme for different occasions or even just your mood.


Supply List -
fun wood pieces
pretty papers
paints of your choice
Dixie Belle chalk paint
Butterfly collage image
Argyle Ocean Paper Flowers
Glue - adhesive - glue gun
During the month of June, you will see our Design Team focusing on projects that incorporate wood. We are very proud to be partnering with Foundations Decor to make this a big success.
Today, I am starting Phase 1 of a two-part project where I create a cute little "Home" for a very pretty cupcake. Sounds a little funny, I know, but come along and you won't be sorry.
Here is a little sneak peak...

I began with this cute little cupcake, pretty papers and paint...

Next, came a coat of paint...

Then, a bit more paint to embellish and a bit of sanding to give the piece a bit of a distress.
I began applying some of that pretty paper and a beautiful butterfly image as well...


Then, it was time to assemble...

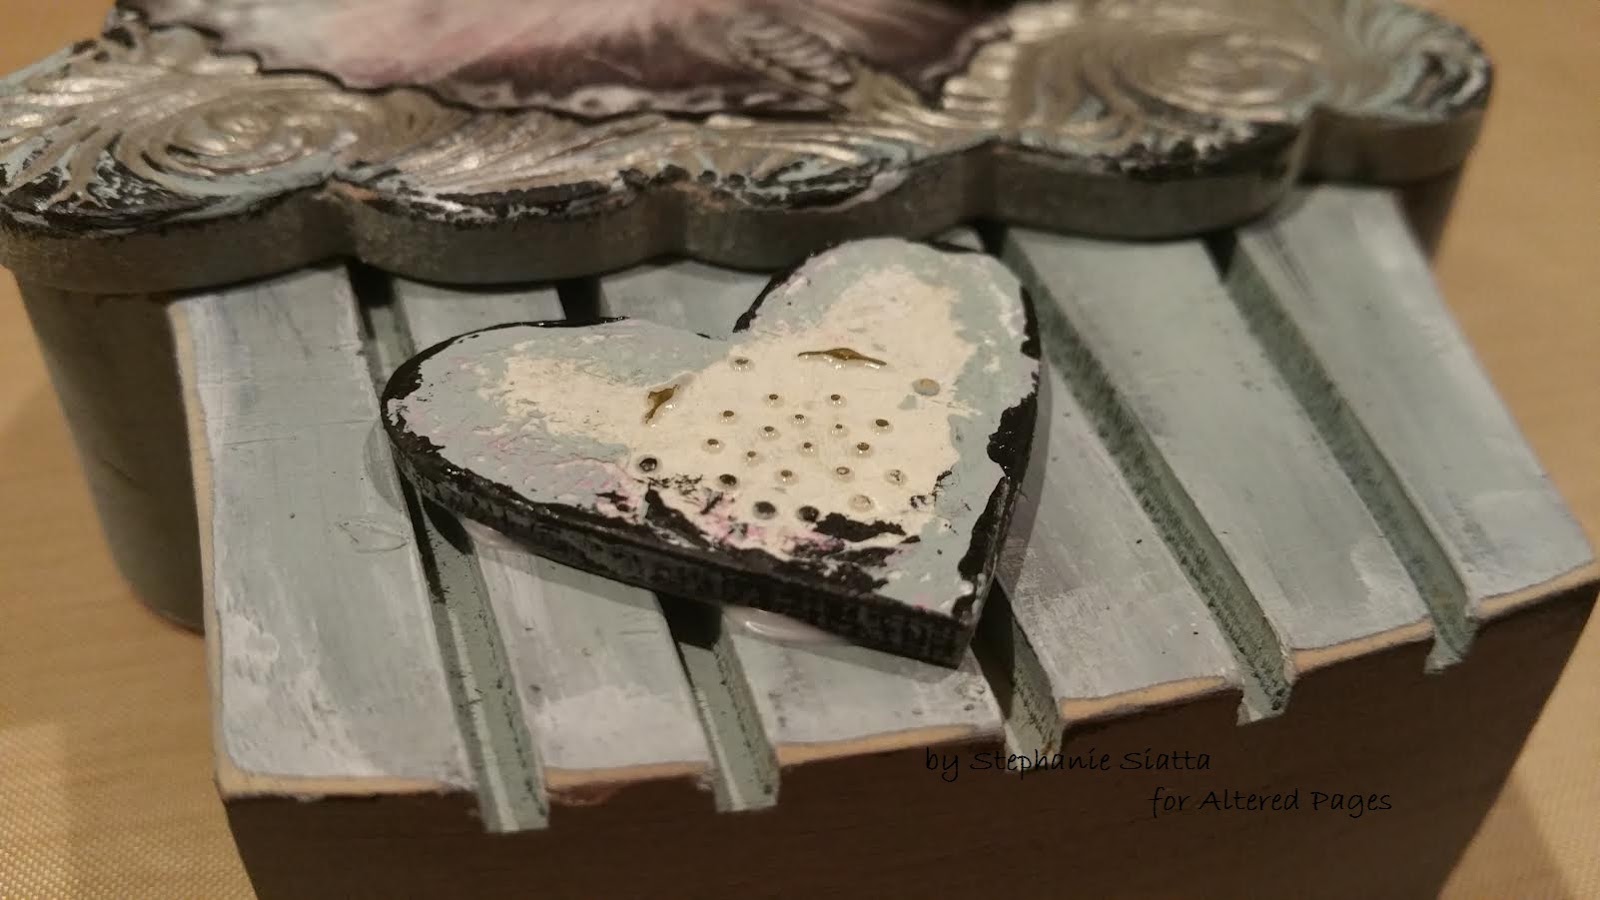

And, side two...

Just look at those pretty glittery flowers...

I hope you enjoyed Part 1 of my cupcake project. Part 2 will be here in two short weeks.
Remember to check out the supply list below.
Many thanks to Foundations Decor for the inspirational wood pieces!

Have a GREAT weekend!
Steph S.
Supply List -
fun wood pieces
pretty papers
paints of your choice
Dixie Belle chalk paint
Butterfly collage image
Argyle Ocean Paper Flowers
Glue - adhesive - glue gun
Comments
Post a Comment