
Hello from Dog-Ma Studio!
Excuse the silly pun in the title.. I will do that on occasion.
In honor of Halloween (which in my opinion, should be celebrated anytime) I have altered a little tin box and added a bit of "Fright"
Supply List:
Tin box
Tissue Paper from my stash
Scrapbook paper from my stash
Jolee's stickers
Misc. Halloween stickers from my stash
Paper flowers
Gel medium
Aileen's Tacky glue
skull from my stash
Mica chips (hard to see but they ARE there)
Stickles
Ribbon

Starting my choosing process.

Used gel (matte) medium to adhere all paper elements. Here I chose a couple of papers from my stash, they are not actually Halloween papers but the colors worked well for what I wanted.

After I cut and inserted the inside papers, I found some great green and orange tissue in my stash and began adhering that directly to the box. You don't want to adhere anything to the inside top of the tin or around the area of the lip where it closes otherwise your tin will not close. So closed the tin, marked in pencil around where the top meets the bottom and that was how I knew how far I could cover in paper.

Here I am using some really cute black rub-on paisley patterns that came from AlteredPages.com. The black stripe on the front is some really neat crimped paper I found in my stash. I used it inside the bottom part of the tin, around the edge, as well.

A little Stickles around the edges gives some sparkle and hides any unevenness or spacing caused by not cutting the paper exact.. Yes, I'm not perfect but you have to admit, this is a great way to cover bare spaces.

Here is a shot of the back side of the tin where I used a tiny bit of black and white patterned tissue to pull it together with the black and white on the front and inside the box.

Added some sweet purple and orange checkered ribbon round the outside (making sure to keep that edge clean so box will close) and made a flat bow to add on top.
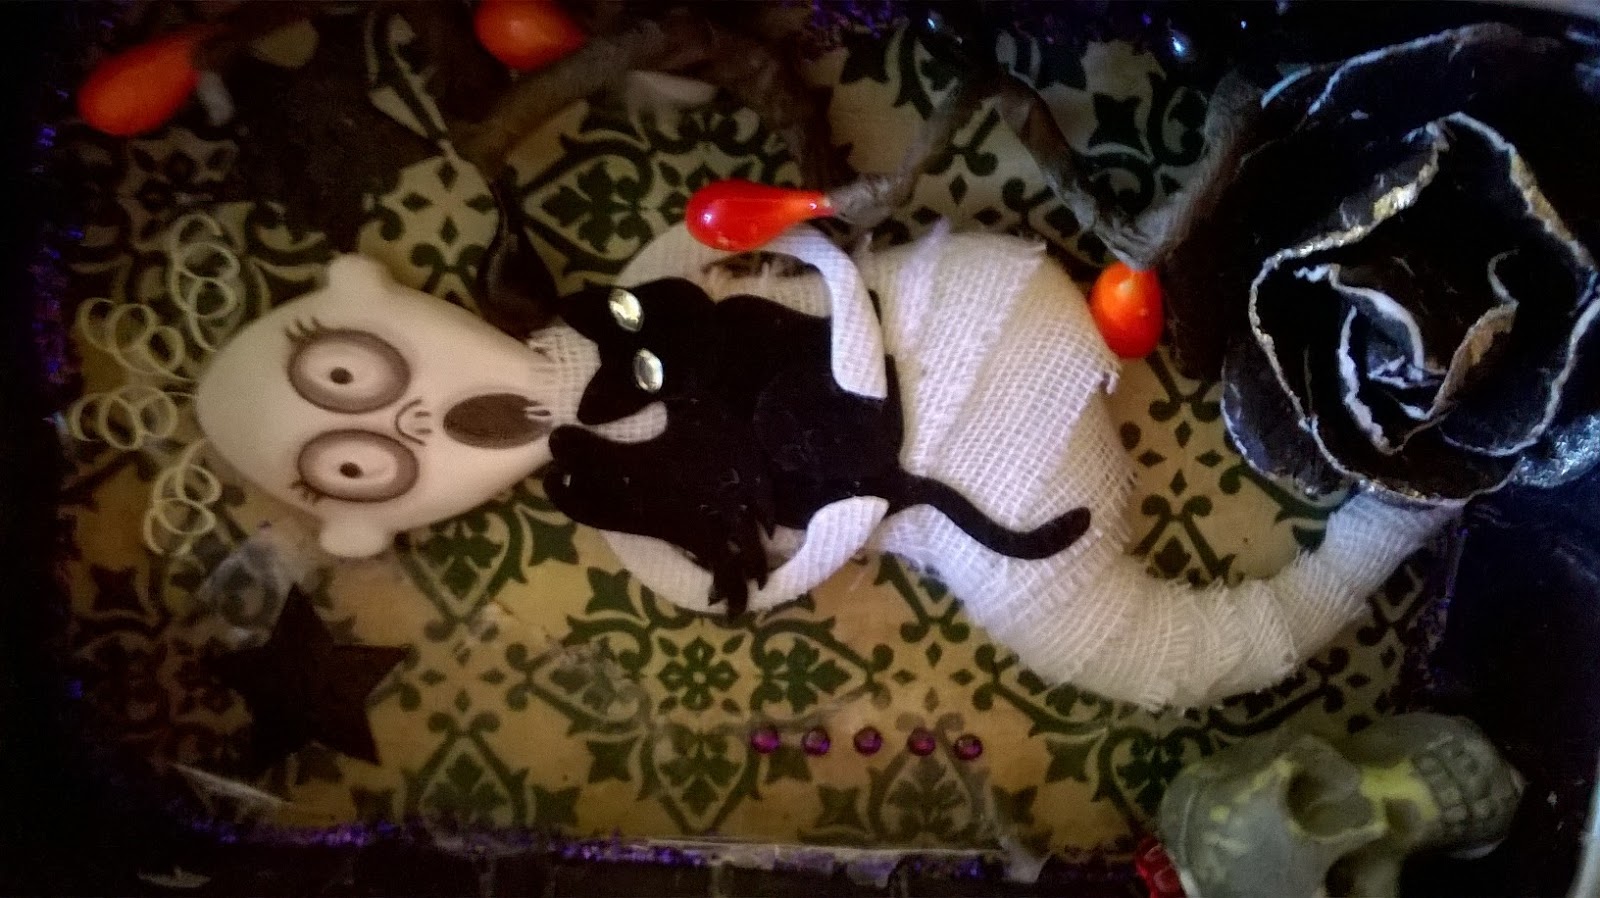
Close up of the inside bottom - Missus ghost - there are some mica chips in here that are hard to see but add a little reflective surface on the inside of box.

Close up of the inside cover - Mister ghost. All the stickers you see are Jolee's with the exception of the sparkly stars and bat on front.

Finished outside of tin

Finished inside of tin.
Well that's it for me! If you have any questions, please feel free to leave them in the comments section and I will see if I can help.
Thanks for looking and Happy Halloween
Jen @ Dog-Ma Studio
This is way adorable! Love all the detail and elements! THANKS for sharing.
ReplyDeleteThanks Jean!
ReplyDeleteGorgeous piece, well done you.
ReplyDeleteGorgeous piece, well done you.
ReplyDelete