
I am ready for the cooler weather and thinking and planning for the Fall and those awesome holidays help to cool my frustrations.
A quick and satisfying Halloween Greeting card to the rescue:

The supply list quickly comes together with AlteredPages goodies:
Seasonal Collage Sheet
Paper Variety
Adhesive
Embellishments
The AlteredPages collage sheets are a great resource for efficient card assembly. The vintage images are darling.
Here are the items I chose to use:
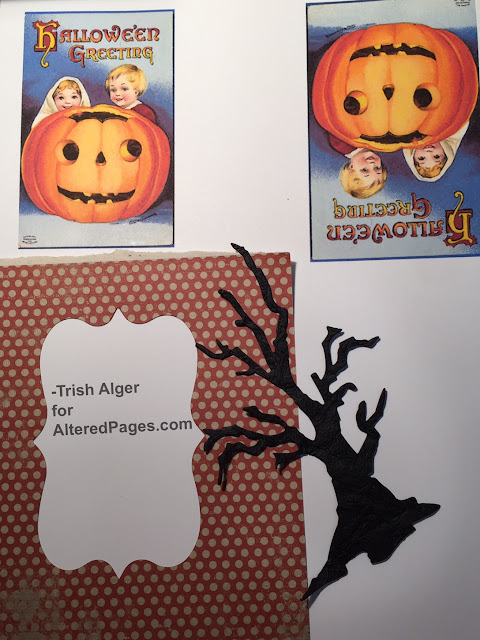
I adhered the trimmed image to dark paper.

I created a window in another piece of patterned paper and adhered that over the image.

Trimmed it down some more and added a diecut tree.

Creepy, but not too creepy. More embellies please:

I adhered this card front to a folded plain card and there you have it. Easy peasy!!

Join our amazing Design Team for more great Fall ideas:

Ciao for now,
-Trish Alger
I love romantic nostalgic Hallowe'en cards and images - this is terrific. Thanks for sharing it!
ReplyDeleteso simple yet so great! THANKS Trish.
ReplyDeleteYour card would make a great book cover, too. It's adorable.
ReplyDeleteYour card would make a great book cover, too. It's adorable.
ReplyDeleteYour card would make a great book cover, too. It's adorable.
ReplyDeletep.s. love how you hid the points of color with your pearls!
ReplyDelete