
Fall Greetings with Gelli Prints

Hi Everyone it's Danie here today creating some greeting cards for Fall, using Gelli Prints as my background papers and collage sheets from Altered Pages.


After collecting items that were fall themed, I started by die cutting out some leaves out of cardstock off cuts to use as masks on my Gelli Plate to create Autumn themed papers.


The first layer of my Gelli Prints were simply a combination of yellow oxide and burnt umber acrylic paint spread across the plate.  My second layer was a mix of yellow, orange and red paint and I placed the die cut leaves down as masks before taking the print.


This resulted in the above prints and the die cut leaves now being colored with autumn tones.


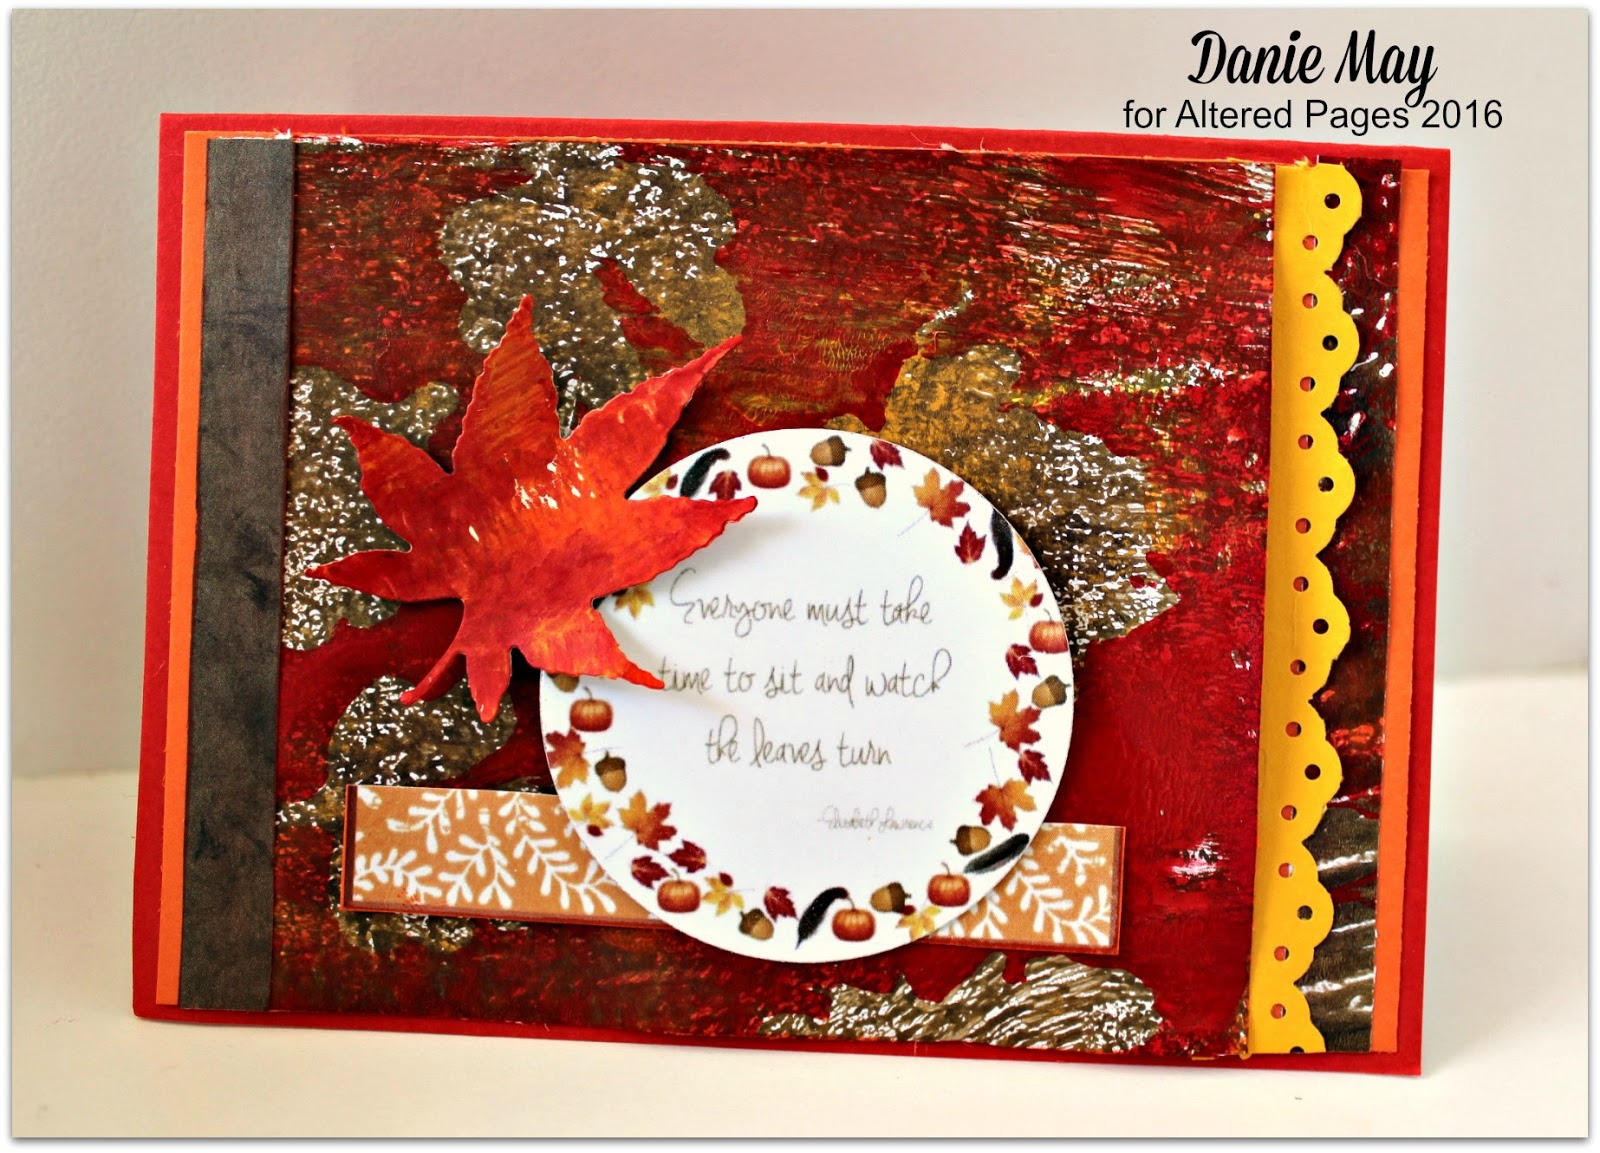
My papers I teamed with orange, red and yellow cardstock bases, and sentiments from the Falling for Fall Collage Sheet, some natural trims (also available at Altered Pages) and some of my now colored leaves as embellishments.


Danie xx

Comments

  1. Terrific coloring of the leaves! Great technique. Perfect for Fall holidays and birthdays too. THANKS for sharing. It is becoming Spring for you however, isn't it?

    ReplyDelete
  2. these are lovely though I'm not ready for fall just yet! xo

    ReplyDelete

Post a Comment

Popular posts from this blog

Get on Over!

We like having you visit,  Make sure to subscribe... Just click here - easy peasy November will be filled with Die Cut ART,  join us. Embellish premade pieces art by Barbara Rankin Cut your own pieces Paint or Foil to add interest art by Lyneen Jesse Combine Die cuts in a variety of mediums art by Jean Moore Create with your manual die cutting machine  or buy premade
 Handy Tip for Artists, Recyclers and Neat Freaks! I have a follow-up to the Citra-Sol method for creating fabulous background pages and collages.   I bought a big bag of navel oranges and realized I had the ingredients to make my own solvent!   Simply take a clean glass jar, peel the rind from the oranges and place all the rind/peels, without the pulp (tangerines, oranges, navels) into the jar.   Pour enough vinegar over the peels to cover them.    Allow the jar to sit for a week or two and VOILA!     You have made your own solvent for literally pennies.    You will notice the liquid getting a bit thicker than the plain vinegar and it does not smell bad!!! I now have a  HUGE jar on the window sill!       Be careful and only use this after testing on a safe spot.

DINA WAKLEY Featured Artist

We are SO Proud to present Dina Wakley with her ART and February Tip   (oops, she says she is totally disorganized, so there is HOPE for all of us!) Dina Wakley is a mixed-media artist and teacher. She loves everything about art: creating it, thinking about it, looking at it, and teaching it. Dina is passionate about teaching art. She teaches both in-person and online workshops.  She is a docent at the Phoenix Art Museum, where she gives tours to school groups and gets kids excited about art. As a Ranger Signature Designer, Dina designs a line of mixed-media art supplies that includes acrylic paints, mediums, brushes, rubber stamps, stencils, and more. Look for the Dina Wakley Media Line by Ranger at a store near you.  Dina's books Art Journal Freedom and Art Journal Courage are available now. Also look for three new North Light DVDs starring Dina, available this month: "Art Journal Mark Making and Throwing Ink," Art Journal Color Courage," and &q