Make sure to scroll down for lots of
good information!
Normal people buy Altoids for the mints. As my family will readily tell you, I'm not normal.
I'm Betsy Skagen of Paper Calliope and unless I begin eating a bushel of garlic a day, I will never be able to eat all the bags of mints I have accumulated. That's because one of my favorite craft activities is making altered art with Altoid containers. (or using the fabulous tins from AlteredPages)
I'm going to keep this fairly brief since this is the second time I am writing this tutorial. Right before it was due for publishing, the post mysteriously disappeared. Now that the tears have slowed enough for me to see my computer screen, I'm going to give you a quick and dirty tutorial.
Tutorial on how to make an altered art tin Christmas Ornament
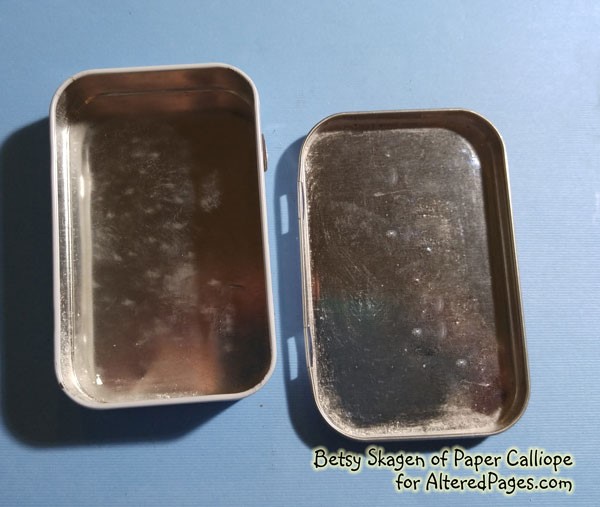
Step 1: Twist the hinges and remove the lid from a Tin. Snip off the hinges as close to the box as possible and use a pliers to flatten the remaining metal against the box.
Step 2: Print two full-size copies of Retro Christmas Cards Collage Sheet and one copy reduced approximately 40 percent.
Step 3: Trace the box base onto the gold Christmas tree image. Cut it out and make sure it fits perfectly inside your box. Trim as necessary.
Step 4: Fussy cut around the identical full-size trees, making them just slightly smaller than the original and fussy cut the reduced-sized Santa (Note to self: ask Santa to share his amazing 40 percent diet plan!). By making the trees slightly smaller, you will allow the background trees to be visible, thus adding dimension to your ornament.
Step 5: Apply Glossy Accents to each of the ornaments on the fussy cut trees. Set aside to dry.
Step 6: Trace the box base onto Christmas themed cardstock and cut out.
Step 7: Cut two 12" x 3/4" strips of Christmas themed cardstock. (I used four 6" strips). Make the width of one of the strips just a hair wider than 3/4" and the width of one of the strips a hair narrower than 3/4". Make sure the narrower one fits inside the box.
Step 8: Cover the inside base of the box with matte medium and adhere the Retro Christmas Card rectangle you prepared.
Step 9: Cover the inside sides of the box with matte medium and adhere the narrower of the 12" strips. Place the seam where the bottom of the ornament will be to make it less conspicuous.
Step 10: Cover the entire surface with matte medium and let dry.
Step 11: Cover the outside base of the box with matte medium and adhere the Christmas cardstock rectangle you prepared.
Step 12: Cover the outside sides of the box with matte medium and adhere the 12" strip. Again, place the seam where the bottom of the ornament will be.
Step 13: Cover the entire surface with matte medium and let dry.
Step 13: Place three-dimensional foam adhesive on the back of the fussy-cut trees and adhere over the trees inside the box.
Step 14: Make a small tab from black cardstock to serve as a stand and glue to the back of Santa's feet. Then glue the tab to the bottom of the ornament. Glue the jingle bell to his upraised hand. Apply ice glitter glue (or stickles) to his white fur.
Step 13: Cut a red, blue, gold and green bead from cheap metallic necklaces (similar to those used in Mardi Gras events). Make sure you trim away as much of the string as possible. Adhere the beads to the base of the ornament in a pile to give the appearance of miniature Christmas ornaments.
Step 14: Adhere a metallic pipe clear to the edge of the tin. Let the adhesive dry before cutting of the excess pipe cleaner and tucking in the end.
Step 15: Use a hole punch to make a hole in the center of the ornament's top.
Step 16: Cut a short piece of metallic pipe cleaner and shape into a loop. Thread the ends through a metallic bead and then through the ornament's hole. Bend the ends so that the pipe cleaner stays in place.
Step 17: Print the message "DECK THE HALLS" with green ink onto white cardstock. Cut the message to make a narrow strip. Snip triangles into both ends and fold the ends to make a banner. Ink the edges with brown ink. Glue the banner onto the upper corner of the ornament.
That's all there is to it. Thanks for stopping by!
Great stuff you will need
White cardstock
Black cardstock
Metallic bead
Metallic bead necklaces
Two metallic pipe cleaners
Glossy accents (or Dew Drops)
Ice glitter glue (or Stickles)
Hole punch
Pliers
Scissors
THANKS,
Betsy Skagen of Paper Calliope
With your 10.00 or more purchase from AlteredPages.com in October, you may win the random drawings for these lovely items!
THANKS,
Betsy Skagen of Paper Calliope
With your 10.00 or more purchase from AlteredPages.com in October, you may win the random drawings for these lovely items!


Instead of saving altoid tins for altering I save 300 count matchboxes and have an massive amount of matches in baggies. I have given away as much as can and still have bags of those laying around. Love your little tin! Awesome job!
ReplyDeleteAdorable decoration - I also enjoy altering Altoid tins - and I have quite a few of those terrific ones from Altered Pages, which I prefer because they dont have that tiresome embossing on top LOL.
ReplyDeleteYou've created a really fun addition to your holiday decorations!
Adorable♥
ReplyDeleteThis is so so cute Betsy! A wonderful altered tin for Xmas! xx
ReplyDeleteThis is super cute, Betsy!
ReplyDeleteI love how you've made a dimensional piece with the tin, a darling little diorama! I must try this! xo
ReplyDelete