Good morning from Jean
I thought I would show a tutorial of making fabric roses which are wrapped and then can be used on your wrapping!
We love these because they are multi purpose items, perfect for embellishing any art project, add a pin back and voila you have a brooch, hot glue onto a plastic hairband for some glam, add to a manila or decor tag and you have a lovely one of a kind gift tag for bag.
I start by choosing a fun fabric pattern, polka dots are a favorite of mine.


Cut a small disc of cardstock (cereal box, etc) to form a base and GLUE the flower to the base. Allow to dry before adding a bead or gem to the center if you like.


I thought I would show a tutorial of making fabric roses which are wrapped and then can be used on your wrapping!
We love these because they are multi purpose items, perfect for embellishing any art project, add a pin back and voila you have a brooch, hot glue onto a plastic hairband for some glam, add to a manila or decor tag and you have a lovely one of a kind gift tag for bag.
I start by choosing a fun fabric pattern, polka dots are a favorite of mine.

This a fabulous way to use up those fabric scraps that are far too small to save for anything else. AND our TWILL TAPE TRIM plus other RIBBONS are Perfect for making the roses.
For my first example, I decided to use ORANGE fabric since we are moving into Fall. You can do two different things....snip your fabric and rip it (giving a textured raw edge) or carefully cut it into a piece approximately 1 foot long by 1 inch wide. You can fold the fabric strip in half for a smaller profile rose.

Begin by wrapping it gently around your finger and then tightening it as you wind it around. After each half wrap, twist the fabric and add a little Tacky or Fabric glue to help hold in place as you work. When you reach the desired width, cut off excess leaving a little tail to wrap and glue under the flower.


Cut a small disc of cardstock (cereal box, etc) to form a base and GLUE the flower to the base. Allow to dry before adding a bead or gem to the center if you like.


Ribbons and twills are great for this use too. Use the same technique of wrapping and twisting until it is as wide as you would like it to be. WRAP, TWIST, WRAP, TWIST.....glue the tail and add a paper base as above. Allow to dry before adding gems or beads.


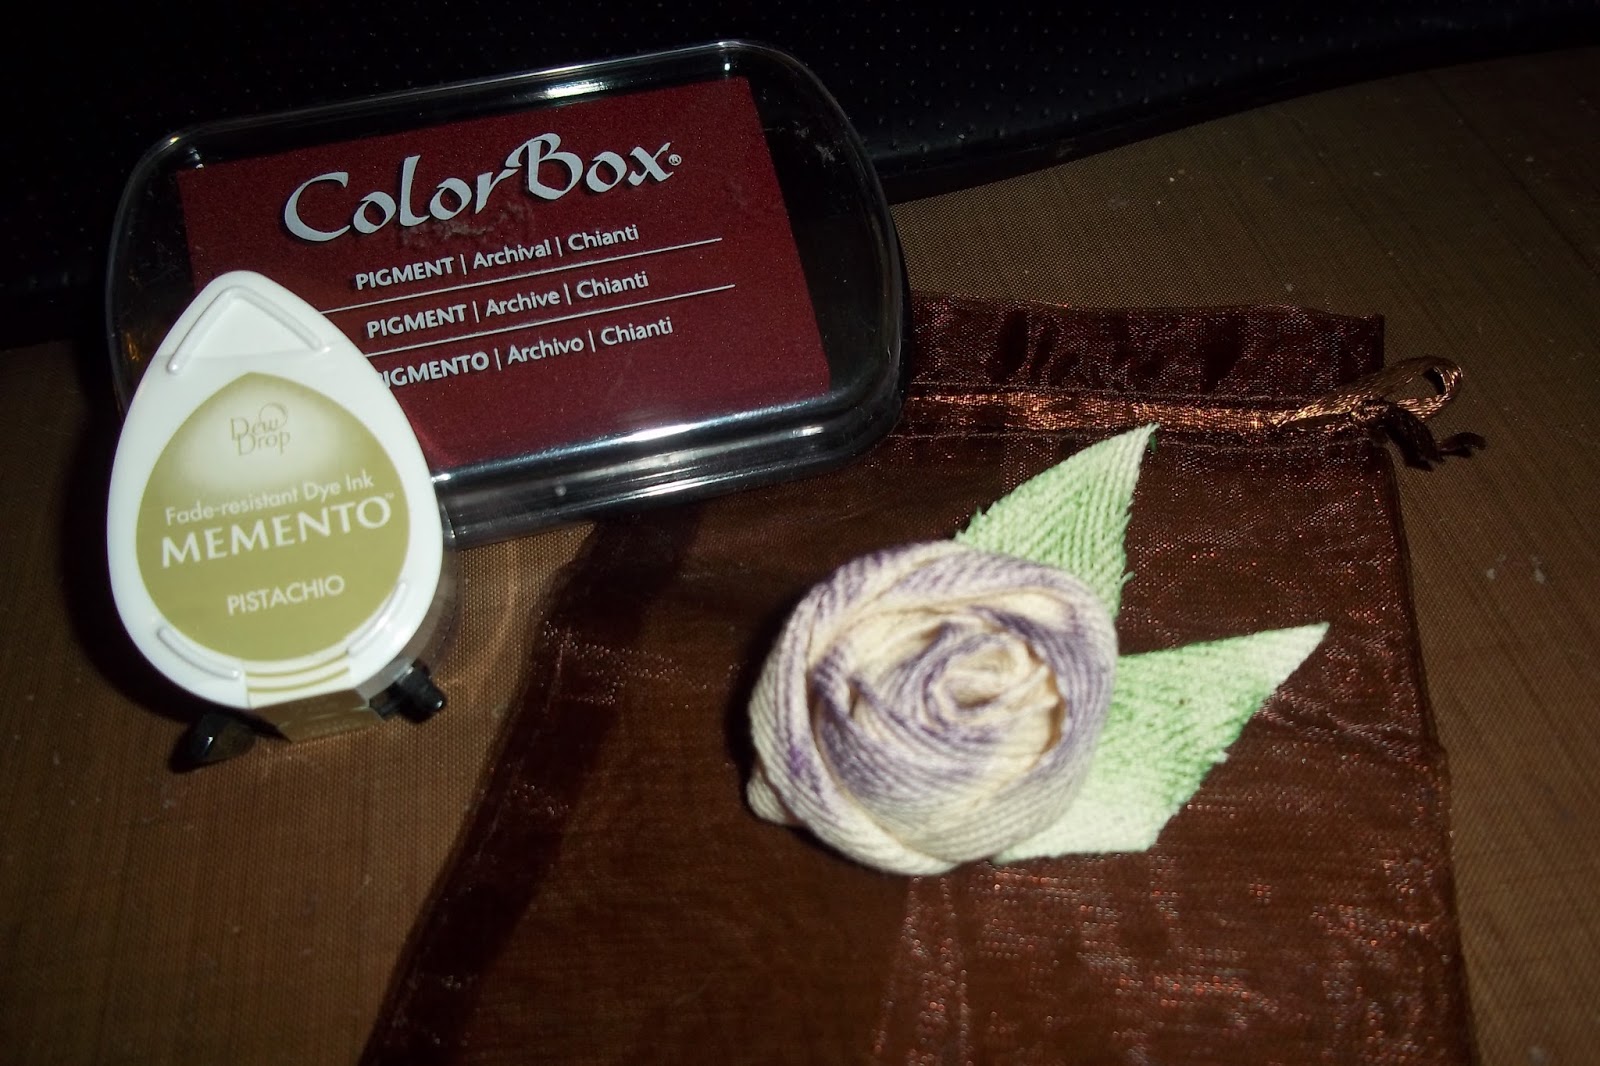
I added a pin back and then attached this flower to an organza gift bag which will hold a small treasure!

There you have it! You can make them from our supplies or buy them ready made from our website!
OUR AUGUST BLOG WINNER is LaChelle Shown! CONGRATS!
LaChelle did not miss one day of commenting! She receives a packet of vintage postards and a vintage map. Please email your postal address to Artsociates@gmail.com

Jean!! I am so excited you shared how to make these beautiful flowers! Yesterday's black polka dot made me all happy inside!! I especially liked how you gave us such clear directions!! Thank you so very much Jean!! Have a great day!!
ReplyDeletethanks for your kind words!
DeleteJean!! I am so excited you shared how to make these beautiful flowers! Yesterday's black polka dot made me all happy inside!! I especially liked how you gave us such clear directions!! Thank you so very much Jean!! Have a great day!!
ReplyDeleteGreat tutorial! I will now have to try my hand at creating some.
ReplyDeleteVery cool Jean! and congrats to LaChelle! xo
ReplyDeletevery useful tutorial - thanks!
ReplyDeleteand congrats to the lucky winner of the contest from an unlucky loser! LOL
Thank you Jean! What an adventure "Visiting the USA" with all of you!! Such great projects and I love your products and kits!
ReplyDeleteWe are so happy to have you visit us and leave some comments. The Designers apprecaite it.
DeleteP.S. These roses are fantastic! Definitely going to give it a try :)
ReplyDeleteP.S. These roses are fantastic! Definitely going to give it a try :)
ReplyDeleteThese are beautiful, Jean. I have tons of fabric from days gone by, and now I know something I can make from them. TFS this great idea.
ReplyDelete