Hello everyone! I have a special post for you today. We are still enjoying our DecoArt products this month, and I even found some uses for them on my Valentine's Day card. So, you card makers out there, don't be afraid to delve into the fabulous world of mixed media, because I am about to show you a fraction of what you can do with DecoArt Media products. Of course, my card would be nothing without the help of Altered Pages products, too!


 Oh, and don't forget that we will have a giveaway of DecoArt Products and a very useful Brayer from AlteredPages at the end of the month. (total value $35.00) We ask that you share our blog posts on YOUR social media pages/sites to be eligible. Comment here and let us know where you posted! Facebook, twitter, Pinterest, Linkedin, google+ !"
I hope you enjoyed my project today, and thanks for stopping by. Be sure to come back for more inspiration from the design team.
Have a wonderful weekend!
Barbara
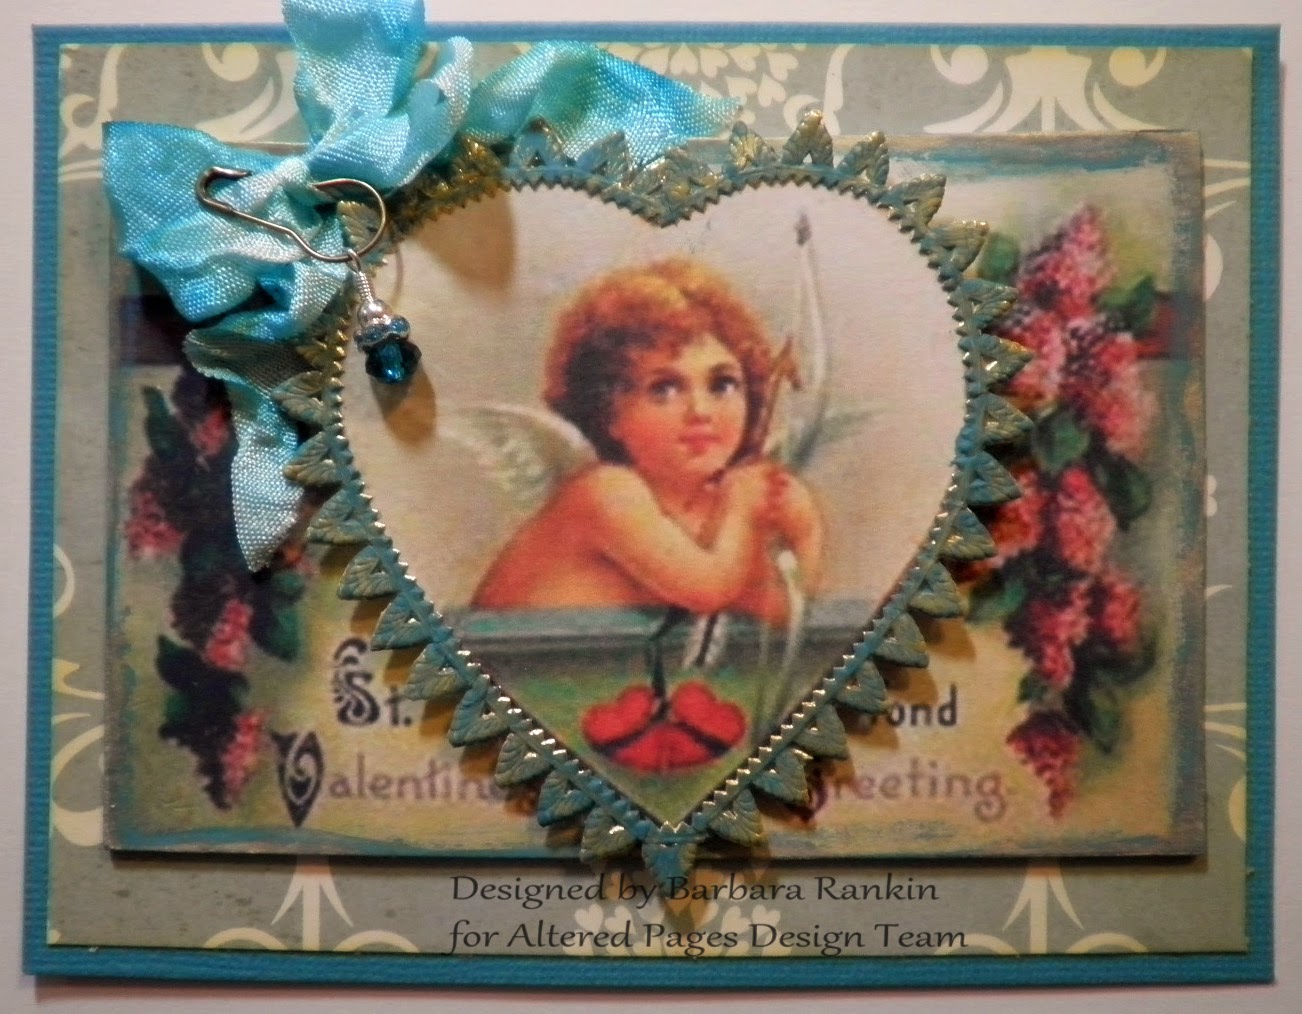
I used an aqua 4-/4" x 5-1/2" card for my base, and adhered a print paper slightly smaller to the front. I also distressed the paper with Scattered Straw to help it match the image.
I resized and printed out two of the image from the Always in Love collage sheet. I adhered the whole image with DecoArt Matted Medium to a piece of thick chipboard and trimmed to size. I edged the piece with DecoArt Patina Green antiquing cream. But wait, there's more.
I added Interference DecoArtGold fluid acrylic along the edges, and it gave this beautiful shimmer effect. I think it really gave it just the right vintage feel I was going for.
I roughly cut out the heart portion of the second image and added a thinner piece of chipboard beneath it. I began adhering the German Pennant Point Gold border around it, beginning at the bottom of the heart. This allowed me to get that perfect point at the bottom of the heart.
I continued around the opposite side, again beginning at the bottom and finishing off at the top of the heart. I used 3D Crystal Lacquer to adhere the border. It works really well and sticks fast.
I wanted to distress the brassy finish of the gold border, so I added Patina Green antiquing cream with a cotton swab.
I adhered the cut out heart image with foam dots. Ahhhh, now that's more like it! I love how the colors are all coming together.
Finally, I added a piece of Dyeable Seam Binding that I inked with some aqua color, and attached a bead charm to the bow with a Lightbulb Safety Pin.
Altered Pages Supplies:
Always in Love collage sheet
Glitz Design print paper from All Dolled Up Muse Kit
German Pennant Point Gold border
Dyeable Seam Binding
Lightbulb Safety Pins
3D Crystal Lacquer
DecoArt Media: matte medium, Patina Green antiquing cream, Interference Gold fluid acrylic
Other supplies: Aqua card stock, chipboard, charm, Scattered Straw distress ink
I hope you enjoyed my project today, and thanks for stopping by. Be sure to come back for more inspiration from the design team.
Have a wonderful weekend!
Barbara
Another beautiful card, Barbara!
ReplyDeleteAbsolutely beautiful Barb!!
ReplyDeleteLOVE the German border. Really adds depth & dimension. I've got the same collage sheet cut on my work desk! I love that vintage girl. Great job!
ReplyDeletewhat a stunner - wish I was your Valentine!
ReplyDeleteGorgeous♥ Thanks for the tip on where to start the German scrap!!
ReplyDeleteAs always beautiful card Barbara!
ReplyDeleteSo many good things to say about this! truly like the effect you got on the German Scrap to customize it to your color palette. LOVELY!
ReplyDeleteYou are inspiring me to get ready for Valentine's Day!!
ReplyDeleteYou are inspiring me to get ready for Valentine's Day!!
ReplyDelete