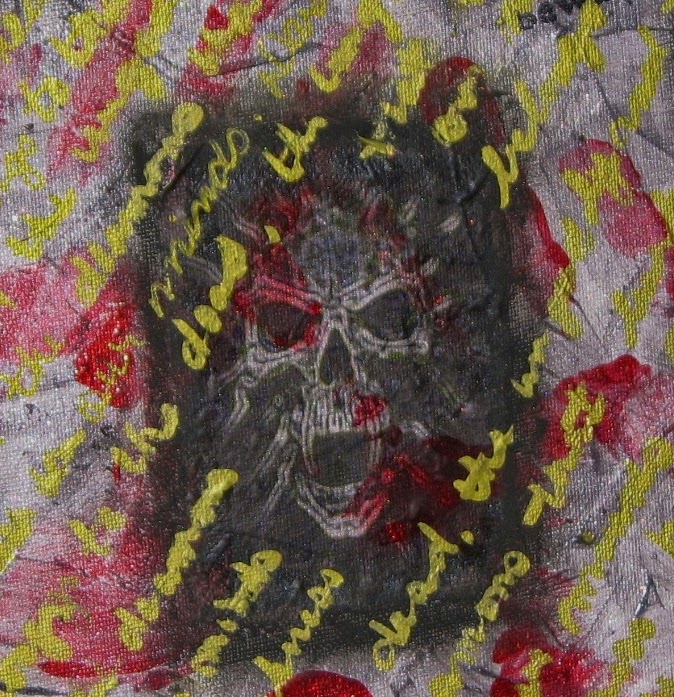
Darkness...I wanted to make a really dark/spooky canvas for Halloween and I think this fits the bill.....
Welcome to day 30!
The Altered Pages Design Team has been treating us with a month full of SPOOKY projects! Be sure to check back each day and see what they create with our partner ArtAnthology's products! Comment each day on the blog for a chance to win a prize package from ArtAnthology and AlteredPages.com
Altered Pages is also one of the 31 Days of Halloween blog hop sponsors. Our Design Team is participating in the hop... if you would like to hop along the blog roll is on the side bar!
I started off with this Halloween saying...
"Darkness belongs to the dead, the ungodly, and the demons that lurk in our minds."
Here's what I did: I started off by applying a couple coats of the Art Anthology Trolley Grey dimensional paint to the canvas which I let dry between layers for maximum depth and dimension.
Applying the first coat...
Then I painted my hands - one at a time of course and pressed them onto the canvas...
Looks pretty dang scary at this point huh?
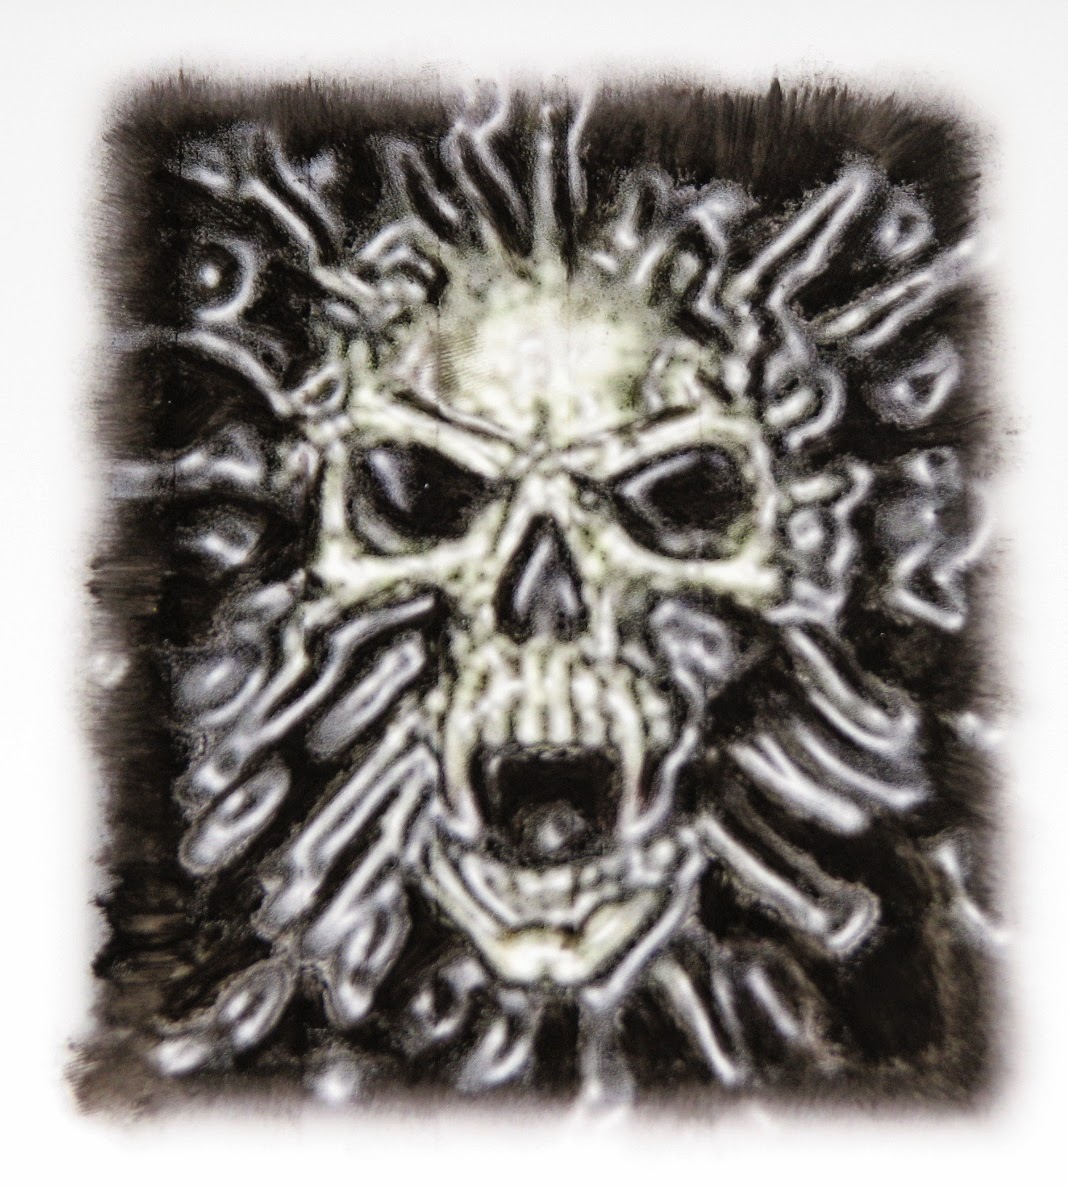
I then messed around with a skull from the Screaming Skulls collage sheet which I printed on a piece of Craft Attitude Film. Once dry it was glued to the canvas.
I then used an oil pastel around the image and outside edge of the canvas. I smudged it around with my finger. To finish it off I wrote the dark sentiment over and over across the canvas with a gold pen. I had to take the photo at an extreme angle because looking head on you couldn't see or read the writing very well...at an angle it shows up great.
I think it turned out pretty creepy don't you?
ArtAnthology supplies: Sorbet - Big Dip O' Ruby, Trolley Grey
Altered Pages supplies: Canvas, Screaming Skulls Collage Sheet, Oil Pastels
Other: Craft Attitude Film, Gold Pen
Now we have a project from
Diana Hetherington Designer
at ART ANTHOLOGY!!!
See details of Diana's project HERE
on the Art Anthology Blog!


.jpg)
Scary canvas! Love how you used your handprints to create a unique pattern! Also love the designs and how colorful Diana's clipboard is! Awesome job ladies!
ReplyDeleteWOW! this is really super cool and creepy! Love the hand prints and that spooky image. FAbulous quote! this gives me the shivers! Gorgeous clipboard, too. xxD
ReplyDeleteCool creepy canvas. Perfect Halloween project.
ReplyDeleteMarilyn
That is pretty freaky. Great project.
ReplyDeleteWhat a creative way to make such a creepy canvas! I love how you can only see the writing from an angle, even creepier!
ReplyDeleteGreat canvas, Roni! I love the creepy handprints! And Diana's clipboard has great color and texture.
ReplyDeleteWhat an awesome idea with the bloody hands and extremely frightful skull! And the handwriting makes it so dimensional...fantastic!!
ReplyDeleteIt was creepy at the red hands point. But after you finished, the skull looks even more dead and dark!
ReplyDeleteCreepy cool. Love the hand prints and the writing.
ReplyDeleteThe handprints are awesome! Love the framing of the super creepy skull! Yikes! Love the writing, so wicked!~kim
ReplyDeleteThis is actually totally freaky. Love it. So dark and dead, just my style. Love it
ReplyDeleteGreat canvas, thanks for sharing the how to, love the handprints.
ReplyDeleteSo creepy Roni!! I loved that you got your hands all painty in there!! Love it- very kewl! ")
ReplyDeleteDefinitely dark and spooky! Love all the layers!
ReplyDeleteTotally wicked cool and creepy! Your bloody hand prints were the perfect touch!
ReplyDeleteVery creepy, what a cool canvas!
ReplyDeleteSuper cool canvas. I think you must have enjoyed doing this one!!
ReplyDeleteThe creepiness of this canvas is awesome! Something very bad dreams are made of. Love the writing across it and the fact that it appears from an angle, like it is writing itself!!!
ReplyDeleteRoni, this is too cool! I love that you used your own hands as part of the art...the same hands that created it are part of it. Very scary!
ReplyDelete