
Hey there my fellow crafters! I hope your week has started off well. This month, the Altered Pages Design Team has had the great pleasure of working with PanPastels, and we hope you have been following along and are enjoying the projects we have been creating for you. PanPastels are now available AlteredPages.com, too!
I have for you today a vintage mixed media tag that I think you will like. There are a lot of steps, so I have included a lot of pictures. But rest assured, it is so easy to do and lots of fun. So I hope you will follow along and make it all the way to the bottom.

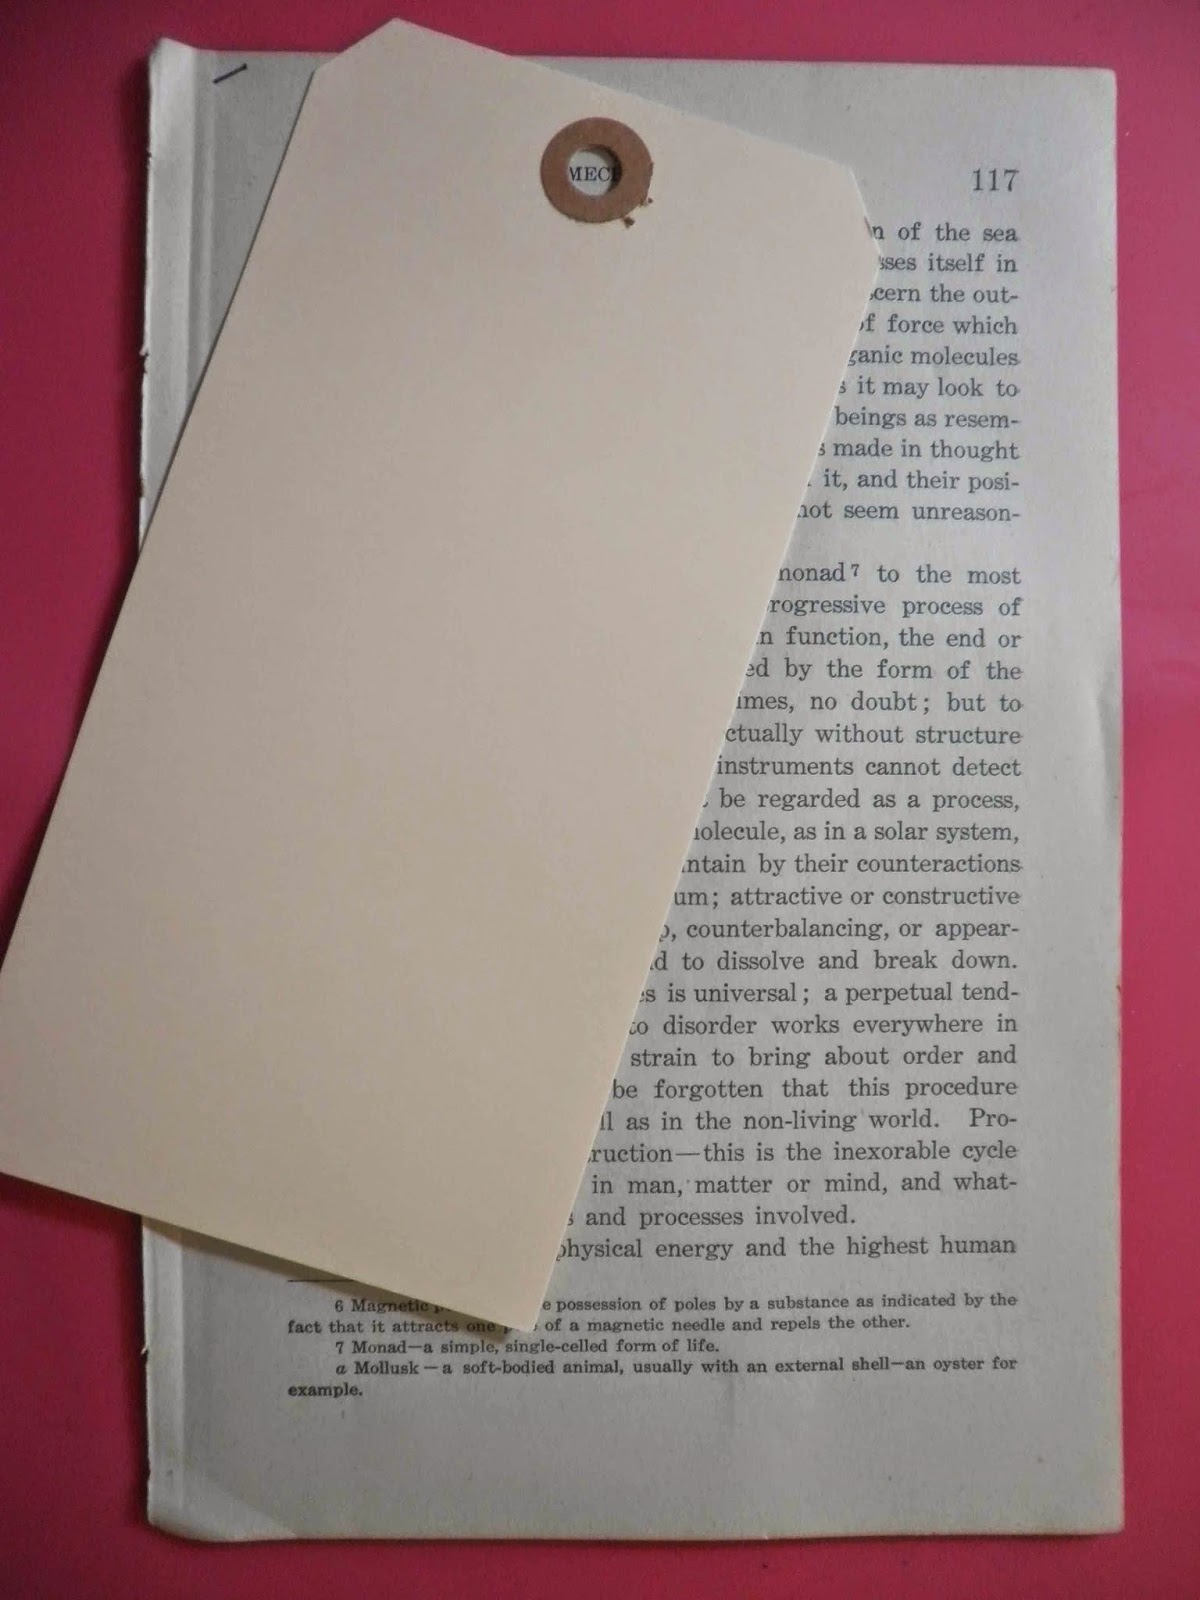
I chose one of the manila tags from the tag assortment and adhered a vintage text page over the entire tag.
Trim excess and repunch hole through tag.

Pounce white pigment ink through stencil.

Add Bright Yellow Green and Turquoise Pan Pastels with Softt sponge over the tag. Spray tag with a workable fixative.

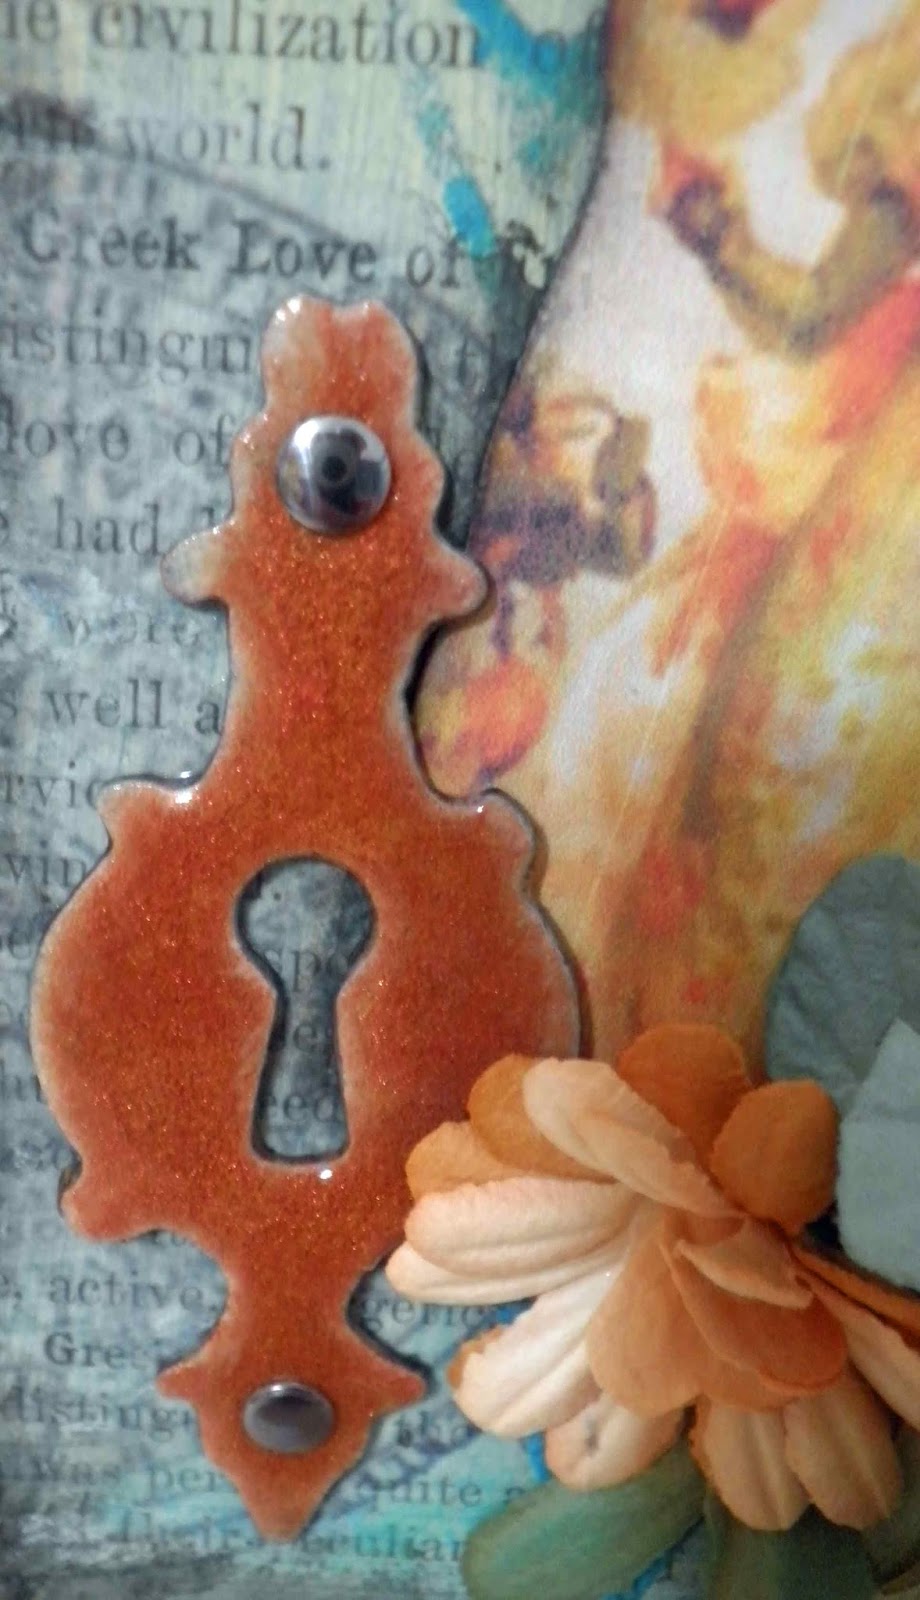
Print mirror image from Simple Science collage sheet, cut in half and adhere to tag with gel medium, as shown. Burnish paper well and allow to dry.


Dip key hole into melted UTEE. Remove from UTEE with tweezers and lay onto craft sheet. Be very careful with this step. The UTEE is extremely hot and will stick to your fingers and burn you.


And here are all four pieces coated completely and looking fabulous, don't you think? I ended up using only two of these pieces for my tag today, but I am definitely saving the other two for another project.

 |
| Cup two daisies with large ball stylus on piece of foam and layer. |
 |
| Cut two petals away from six petal flower. |
 |
| Glue two outer petals together and pinch at bottom. |
 |
| Glue to center of layered daisy. |
 |
| Fold pointed six petal flower (yellow) in half and squish each individual flower towards the center, similar to the green flower. It is |
 |
| Fold the top three petals down, as shown. |
 |
| Add a few stamen to the center and pinch the bottom while carefully arranging the petals to your liking, then glue all in place in the center. |
To make some leaves, cut petals from large daisy. Add Permanent Green Pan Pastel to leaves and adhere beneath flowers.


Supplies:
Altered Pages: Manila tag; Vintage Text Pages; Simple Science Collage Sheet; Les Fleurs Collage Sheet; Gel Medium; Gesso; Triangle Plaid stencil; Gelato Black; Petaloo Flowers; Ribbons and Trims
Pan Pastel: Turquoise, Bright Yellow Green, Permanent Green, Copper, Rich Gold, Bronze, Softt Sponges
Other: White pigment ink, Clear UTEE (Ultra Thick Embossing Enamel), Hot Pot or Heat Gun; Tweezers; charcoal pencil
I hope you enjoyed my project today, and I always hope that I have been able to inspire you to try new things like Pan Pastels. Be sure to comment each day on the blog for a chance to win a set of your very own PanPastels. A random drawing will take place at the end of the month, and for each comment you leave, your name gets entered again! More comments, more chances of winning! (one comment per day please).
Have a wonderful, creative week, and be sure to make time to play!
Have a wonderful, creative week, and be sure to make time to play!
As always wonderful tag and tutorial!! Thanks for sharing!
ReplyDeleteSuch a beautiful project and utilizing lots of techniques. This is a great one to practice those techniques that I don't use very often. Thank you for this!
ReplyDeleteIt's gorgeous! And thanks for the details on the 3D flower and each step.
ReplyDeleteIt's great seeing all the things you did on this tag. The way you altered stuff, and then the beautiful fibers to finish off. Great tag!
ReplyDeleteJust WOW, it's gorgeous! Love the step outs and the helpful technique info.
ReplyDeleteToday's tag is beautiful♥ I like the flowers and the centers are fabulous! I will be trying it!
ReplyDeleteVery pretty tag Barbara! Love the PP's on the chipboard - so pretty!
ReplyDeleteI am blown away! love thus tag and thanks for the tutorial! xo
ReplyDeleteGorgeous tag! Love the embellishments!
ReplyDeleteWonderful tag!
ReplyDeleteGorgeous tag! I love all the techniques you shared! Thanks so much. ~kim
ReplyDeleteA great tutorial!
ReplyDeleteI've never used UTEE before!
Thanks for introducing utee. So many new products.
ReplyDelete