“Have you laughed today?” That’s the question that Laughing Cow cheese asks. Hopefully, your answer is yes! Laughing is so important…and in my world so is cheese. Ha-ha-ha. But what do you do with the box that these little yummy wedges come in. In the past, I’ve tossed it into the recycle bin. This time, I peeled off the labels and thought I’d play with it.
There are two collage images from Altered Pages that I have
been looking forward to using. One is a dragon
in flight and the other is a beautiful Oriental
background in neutral colors. I
chose the Spiced Chai and Emerald City StazOn inks and copper Maya
Mist spray. I rubbed the entire box
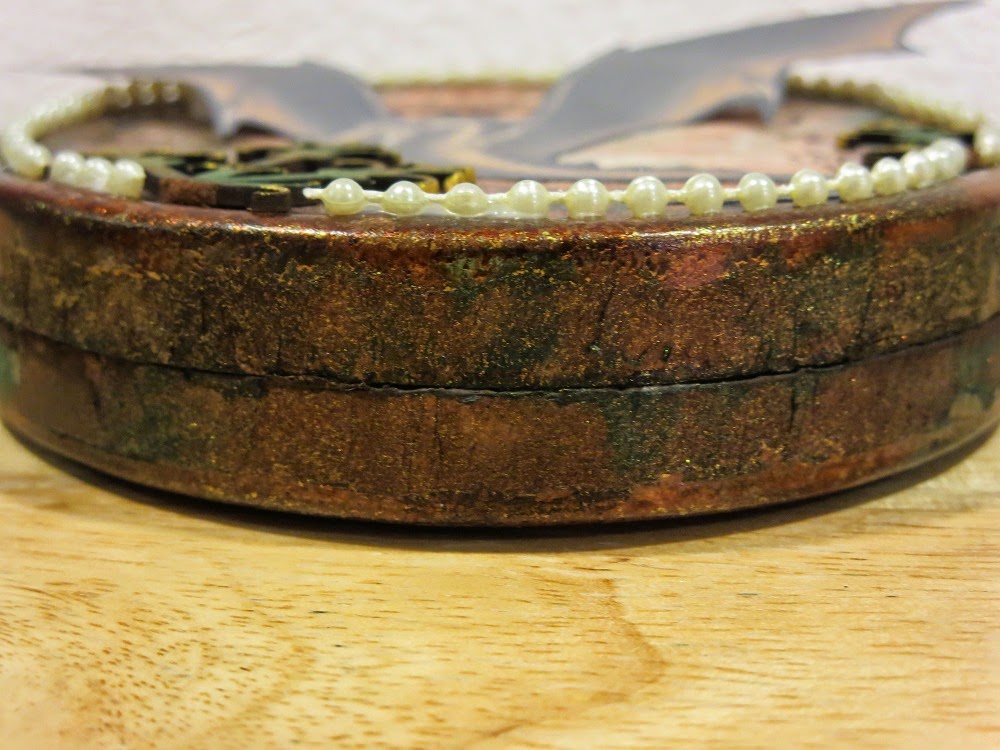
with the brown ink and then added some green here and there. The box had labels on top, bottom and all
around the side which left rough spots on the otherwise smooth cardboard. This gave the box a rustic look once the ink
was added and I loved it! I sprayed the
copper ink liberally on both halves. It’s
a gorgeous color full of sheen! When the
ink was dry I sealed both pieces with a workable fixative to seal the mist.
The lid of the box has a slight lip so I measured the inner
circle and cut the background using my circle cutter set to 4”. The background was rectangular so I did not
get a complete circle. I tore the
straight edge off to give it a little texture.
I added brown and green ink to the edges of the circle and to the torn
area. The scrap had two visible patterns
so I cut them out, inked the edges and glued them to the background before
gluing the dragon in place.
The inside of the box was white cardboard and I painted it
very lightly with dark brown paint. Be
conservative because the box needs to close so you don’t want a thick layer. My largest scalloped circle die was perfect
to make a bottom for the box.
The dragon comes as part of a scene so I cut him out and
touched up the white edges with a marker.
The head, body and tail of the dragon were glued directly to the
background and his wings were lifted with double
sided foam adhesive. The disc was
then glued in place on the lid.
Our July partner is Leaky Shed Studios and this medallion embellishment was perfect for my design! But the square
shape didn’t work for my round project.
I sponged green ink onto the entire medallion and then sponged brown
around the edges. Then I ripped it in
half! I sponged brown ink onto the
rips. To help it stand out, the floral
designs on the tips were dipped into gold ink.
Once the medallion pieces were in place I added some strings
of pearls, stopping at the base of each one.
And there you have it!
A pretty little gift box, perfect for a gift card, jewelry or even
M&Ms! Thanks for stopping by to
check out my upcycle project! I hope you'll take a moment to check out the Leaky Shed Studios site.


Somebody finally did it - altered a cheese box! I've held on to some of these and pushed them back in the brain's backburner to figure out what to do with them -- and LOOKIE HERE! This is FABULOUS!
ReplyDeletenever in a millon year would have thought this was a recycle piece.. way cool.. must try
ReplyDeleteFabulous! Last week I upcycled a cashew can but nothing like your piece!
ReplyDeleteWhat fun, I have a stack of these saved as well...they are perfect little organizers and I never throw any of them away. It's fun to see how you've taken it and turned it into a fun little gift box.
ReplyDeleteTFS Robin!
that is terrifc!!! totally wonderful what you did with a cheese box lol
ReplyDeleteAwesome up-cycle project! Will have to add that to my I have to try that list! :-)
ReplyDeleteAwesome job. Gonna see what I can come up with now.
ReplyDeleteVery unique♥ Now off to the store to buy cheese in a box!!!
ReplyDeletetruly wonderful!!! the box looks like an aged treasure.
ReplyDeleteI love the look on this great gift box!!
ReplyDeleteYour upcycled box is so cool. I love everything about it!!!
ReplyDeleteWow! Awesome box...I've never upcycled anything as grand as yours!
ReplyDeleteWhat a fabulous use of all those inks and colors to transform your box and wonderful detail to finish Robin. Such a lovely project!
ReplyDelete