
As you know this month Altered Pages has partnered with The Artists on the Block to share our Altered Trading Block creations using Eileen Hull's Sizzix Block dies.


I hope you've enjoyed this piece and have fun checking back for all the Altered Trading Blocks both here and on the Artists on the Block blog this month!
Stay Inky my friends!
Ink Stained Roni
I was so excited because ATB's are so much fun, like an ATC on steroids!
I knew immediately that I wanted to make a Steampunk theme block because AP offers so many great collage sheets that can be paired with that theme... so I got started and just couldn't stop at one!
I ended up making a whole tower of ATB's!
I knew immediately that I wanted to make a Steampunk theme block because AP offers so many great collage sheets that can be paired with that theme... so I got started and just couldn't stop at one!
I ended up making a whole tower of ATB's!
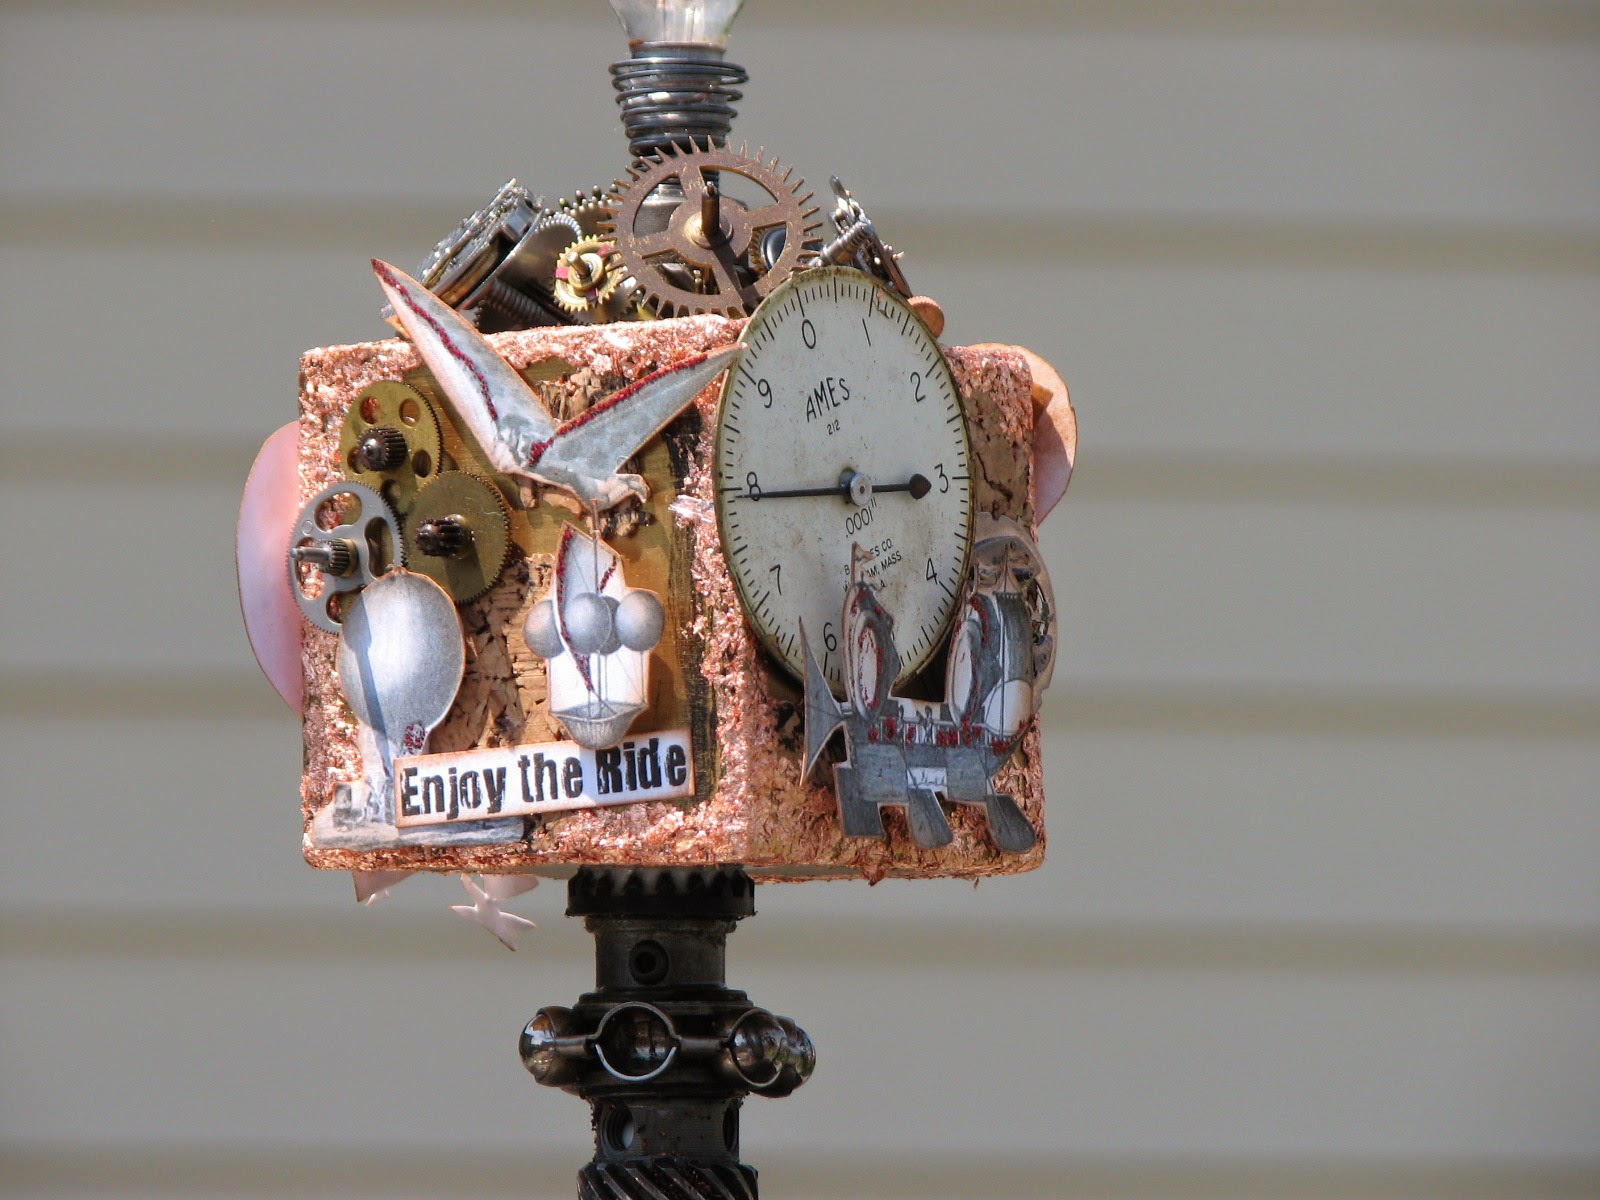
The bottom block was painted then covered with pieces from a glassine envelope that I disassembled, inked and stamped. The center block was painted black and a different "Frankenstein Experiment" diagram was affixed to each side. The top block was painted then I added torn bits of cork here and there. I then applied Duo Adhesive to all the corners and sprinkled on metal leafing flakes.
After all of the blocks were dried I cut out and applied various images and labels as well as loads of fun embellishments, washers, gears and other bits from both AP and my own stash. I used parts my son scavenged for me from DH's workshop to assemble the tower spacers.
Here are a few more photos...
This Steam Tower was created using the Eileen Hull -
and the 2 1/2" block from the Blocks/Cube Die.
I used the following supplies from Altered Pages:
533 Really Big Hats (2 ladies)
1024 Frankenstein Experiments (background on center block)
1139 Pardon Me Monsieur (Commander)
1628 Vintage Transportation (Balloon & Flying Man on top block)
1973 Old Time Men (Inventor)
2136 Steampunk & Gears (Airships on top block)
3042 Steampunk (Airships on top block)
and other found objects, gears, gauges & what-nots from my own collection.
I hope you've enjoyed this piece and have fun checking back for all the Altered Trading Blocks both here and on the Artists on the Block blog this month!
Stay Inky my friends!
Ink Stained Roni
AWESOME!!!!!! I LOVE STEAMPUNK!
ReplyDeleteI'm gobsmacked! Roni, you stole the show! What an intriguing assemblage. I love, Love, LOVE it!
ReplyDeleteOh MY Word Roni! This is capital A Amazing! Your ATB tower just comes alive with steampunk style...WOW!
ReplyDeleteAmy*
I love how you steampunked out your ATB!!! You rock!!! <3
ReplyDeleteThis is absolutely brilliant, loving your steampunk themed ATB tower!
ReplyDeleteThanks everyone...it was lots of fun to make!
ReplyDeleteUnbelievable! Roni, you always astound us! Love the mad inventor and his glasses! THANKS for a fantastic project.
ReplyDeleteWow! Wow! Wow! I love the use of actual gears and hardware. My favorite is the light bulb at the top. This is truly an amazing creation, Roni!
ReplyDeleteOMG, Roni, this is so amazingly steampunkey!!! I love all your embellishments, and the tower idea is so awesome. You are so creative!!!!
ReplyDeleteAmazing ATB, amazing details. I love the lightbulb on the top. Inspirational. Tracy x
ReplyDeleteThis ATB Tower is just awesome Roni, Loving the steampunk theme and beautiful selection of collage images!
ReplyDeleteWonderfully crafted, greatly detailed and beautiful!
ReplyDelete