Glue books are a lot of fun to create!
is be a perfect book to make one!
I am creating a book that is some where between a glue book and a lot of mini collages.
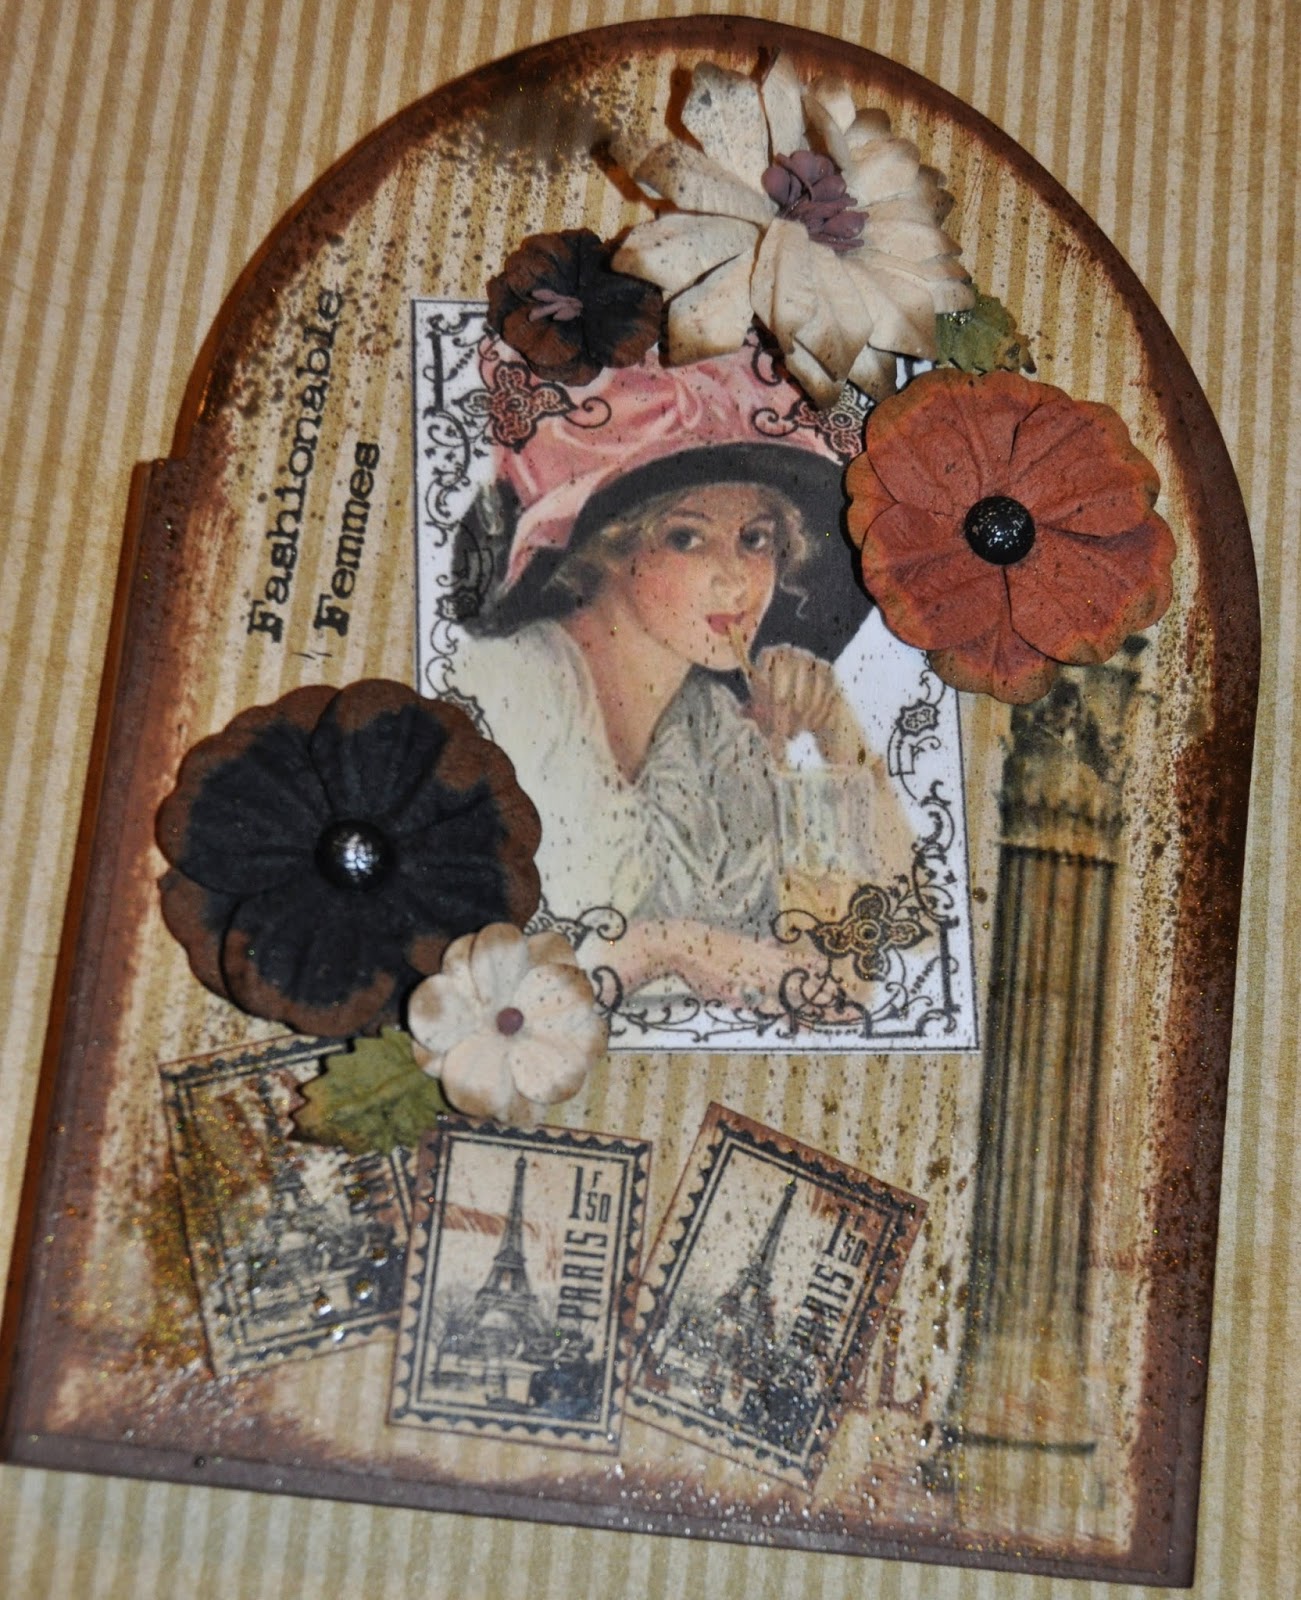
The Arched Door Blank Board Book is the base for my "Fashionable Femmes" book. During May I will be sharing it as I create pages in it!
First, ink the edges of the book with Tsukineko StazOn Midi Spiced Chai. Cut the pattern paper to fit the front of the book and ink edges. Adhere pattern paper to the book.
Using the inkjet, print the Altered Pages Collage Sheet ATC Decorative Boarders and Architecture on Craft Attitude™ printable film. Layer one of the ATC Decorative Boarders over the image of woman from Color Pink ATC's sing glue stick on the printed side of the film. Cut the column for the Archticture collage sheet. Attach images to book cover.
Add flowers. "Fashionable Femmes" is stamped directly on the book, Airmail is stamed with Tsukineko StazOn Midi Spiced Chai on cardstock stamps.
To finish the cover spritz with Imagine Crafts irRESISTible Bronze, you will love this product. It adds a bit of texture to the surface. If you look closely you can see the texture on the cover of the book.Supplies:
Arched Door Blank Board Book
Altered Pages Collage Sheet ATC Decorative Boarders
Altered Pages Collage Sheet Color Pink ATC's
Altered Pages Collage Sheet Architecture
Mailbox Muse Stamp Fashionable Femmes ~ Paris
Mailbox Muse Stamp ~Airmail
Tsukineko StazOn Midi Spiced Chai
Tsukineko VersaFine Onyx Black
Imagine Crafts irRESISTible Bronze
Craft Attitude™ Printable Film
Pattern Cardstock
Altered Pages Flowers

Remember to stop the Altered Pages Blog by everyday during the month of May to see the awesome inspiration projects our Design Team is creating!
We have a special treat every Tuesday and Thursday ~ Eileen Hull's Artist Trading Blocks!!! We are partnering with with Eileen Hull's Design Team ~ Artists on the Block.


Very pretty book cover. I'm lokking forward to seeing the rest of the pages.
ReplyDeleteWhat a lovely glue book! I love the colors and images you used together...so soft and dreamy!
ReplyDeleteTFS Lyneen!!
so pretty, look forward to seeing what else you do with it!
ReplyDeleteI'm not familiar with the term "glue book" - what is it?
Such a lovely layout, perfectly colored and embellished!
ReplyDeleteI haven't made a glue book in quite a while. I love how you've begun yours, and I love the shape of the book. It will be interesting to see how the rest of the book develops. Will you stay to a certain theme or color palette or will each page/2 pages be unique? I'm inspired now to choose one of my blank books and start my own glue book for spring. Thanks for the inspiration! Anne, yourmainestamper
ReplyDeleteHello my friend! I wish to say that this article is amazing, nice written and include almost all important infos. I would like to see more posts like this .
ReplyDeleteTop Ten Web Hosting Reviews
Very cute! I love working on mine!
ReplyDeleteJust gorgeous Lyneen
ReplyDeleteSuch a lovely book Lyneen and a beautiful mix of stamping, inking and collage. xx
ReplyDeleteLove your board book a nd. The theme you have chosen is so pretty. Cannot wait to see more.
ReplyDelete