Hello everyone! So glad to see you today. I just spent last week at Art-Is-You Dixie, and I learned so many new and exciting techniques and product usage. One of the things I learned was how to paint and shade faces. When I got this stamp set from Altered Pages, I knew I had to try my hand at coloring this lovely lady's face.
I could not decide whether to make an art journal page or a card. I decided to make a card, with a twist. I used an entire sheet of inexpensive 9"x12" 90lb watercolor paper, folded it in half one way, then the other.
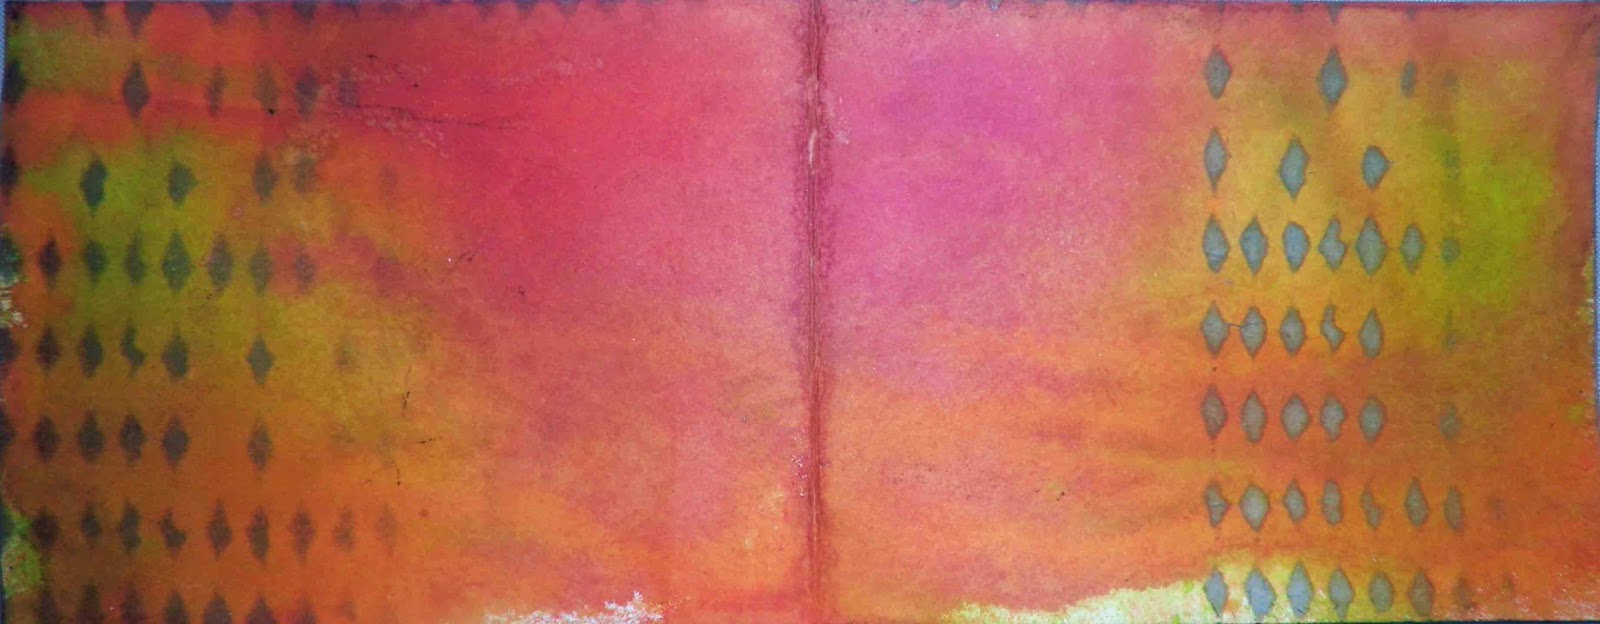
I pulled out my Dylusions spray inks and, after first misting my w/c paper with water, I misted with Fresh Lime, Squeezed Orange, and Cherry Pie, allowing them to run together.
For some background design, I used this Dylusions 8 x 5 Diamond Border stencil that I had used prior to this project, and it still had black ink on it. So I cleaned my stencil with a baby wipe, rubbing the excess ink through the stencil over my paper, giving me this wonderful background.
Next, I stamped this lovely lady from the Gypsy Journal stamp set in Jet Black StazOn ink, so my image would not bleed with all the watercoloring.
Next, I stamped "Journey" in Jet Black StazOn, and "moved" the Dylusions color away from the image with my water brush, allowing it to stand out better.
The same technique was used to move the orange color from her face, leaving some for shading. I still need to practice face painting, but all in all, I am very pleased with her. I also added a bit of white to her eye with a white Faber-Castell Big Brush Pen, another technique I learned from Art-is-You Dixie. You may notice I removed some of the color from the lace near her face. I used a Memento Pistachio pen to color her scarf. I was amazed at how easy these pens are to use, and how well it blended with my color scheme.
I am a huge fan of shading around the edges of my work, thanks to Mr. Tim Holtz. But there are no distress inks here. I ran my black Gelato around the edge, then smeared it with that same baby wipe I used previously. Look how it frames everything so beautifully. Ultimately, I glued it together, which gave it nice stability and this fabulous color inside and out. Now, it is a card.
 |
| Card front and back |
 |
| Card front and back on the inside |
I almost forgot to mention that I used the border from the Dylusions 8 x 5 Diamond Border stencil and a Black Micron Pen to trace portions of the border, then colored inside with the white Faber-Castell Big Brush Pen. You can see it in the photo below.
Supplies used:
Dylusions Ink Sprays: Fresh Lime, Funky Fuchsia, Squeezed Orange
Faber-Castell Gelato: Black
Faber-Castell Big Brush Pen: White
Tsukineko Black StazOn ink pad
Memento Pistachio pen
Reeves 9"x12" 90lb watercolor paper pad
During the month of May, join the Altered Pages Design Team as we cross promote Eileen Hull Designs Artist Trading Blocks with the The Artists on the Block Design Team. They will be posting new ATB projects every Tuesday, while we, here at Altered Pages, will be posting new ATBs every Tuesday and Thursday. Be sure to stop by often for a month of inspiration.
Have a wonderful and creative week!
Barbara


I definitely want to try these techniques you shared. Awesome card!!! Thanks for sharing!!!
ReplyDeleteGreat tip about using the water brush. This is a beautiful card.
ReplyDeletebeautiful job!
ReplyDeletedelightful card - love it! the colors are perfect - I don't know how you got such nice muted tones from Dylusions - mine always come out looking like 1960's dayglo posters LOL. I have to practice!
ReplyDeleteFantastic work Barbara! Love that you shared your new techniques with us all! It is gorgeous.
ReplyDeleteBeautiful!!! WONDERFUL techniques! Love the colors!
ReplyDeleteBeautiful card, great techniques! Thanks for sharing.
ReplyDeleteLovely creation! The whole thing is just so cool!
ReplyDeleteTFS!
Fantastic...would like to give this tecnique a try :-) x
ReplyDeleteLove this, Barbara. Now I want to drop everything and play with my Dylusions!
ReplyDelete