
Today, I am actually finishing a WIP!!!
I know you know the feeling...does that always feel great, or what?!

I am very happy with how the incense burner turned out. I have even had a friend ask where I bought it so they could pick one up. It was pretty satisfying telling them that it was a DIY and that they could easily make one of their own. Here is a quick reminder of that piece.

 I then decoupaged pretty floral tissue for the background and then a few beautiful gypsy ladies for my focal images. You can find those lovely ladies HERE. You can use any images you prefer. More wonderful collage images from Altered Pages can be found HERE.


Supply list -
Creative PaperClay
Sanding sponge
Gypsy Bazaar - collage images
Aleenes Tacky Glue
Gold leafing
Art Alchemy Acrylic Paints - Dragons Eye
I know you know the feeling...does that always feel great, or what?!

I am continuing on with that cute little PaperClay pot that was part of a previous post...remember that gold gilded incense burner that I created a couple weeks ago? Well, if you missed those projects, check out the beginning processes HERE.
I am very happy with how the incense burner turned out. I have even had a friend ask where I bought it so they could pick one up. It was pretty satisfying telling them that it was a DIY and that they could easily make one of their own. Here is a quick reminder of that piece.

Now, continuing on with the cute little clay pot.


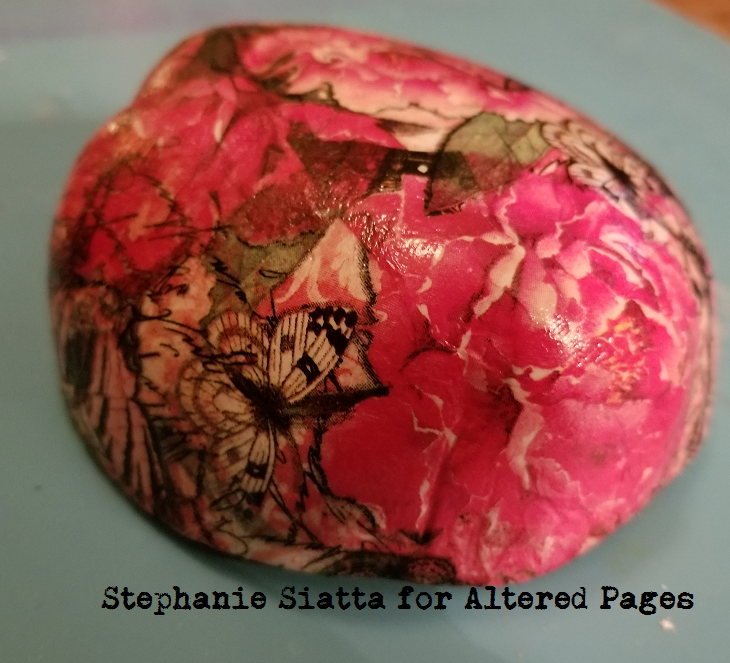

I also added a bit of gold paint to the rim of the bowel. You can also use actual gold leafing found HERE.
I love the imperfect & organic nature of the bowl with the grandness of gold guilding or leafing. It just finishes it off prettily.


I hope you enjoyed!
Thanks for joining me today!
Stephanie S.

Supply list -
Creative PaperClay
Sanding sponge
Gypsy Bazaar - collage images
Aleenes Tacky Glue
Gold leafing
Art Alchemy Acrylic Paints - Dragons Eye
Comments
Post a Comment