Hello, I have a little goth-ish, skully for you today. Could be for Halloween or just because you are a bit goofy like me and have a love of skulls... We have partnered with The Crafters Workshop and their stencils are AWESOME!!

Supplies:
Substrate - I used one from my stash which is a pre-made photo holder. You could definitely use an art board or other substrate for this.
STENCILS - from The Crafters Workshop- I used 2 different 12 x 12 stencils, both by Gabrielle Pollacco. For the main texture, I used her "Hard Texture" stencil and for the text, I used her "Wanderlust" stencil.
Collage image: from Altered Pages - Skeletal Remains
Adhesive
Moulding paste
Palette tool
Acrylic Paint

 After I picked this awesome collage image, I used some Gel Medium to adhere it to the outer frame.
 Now I have to attach that outer frame to the backing.. I'm not ashamed of my messy desk or the fact that I have to improvise on clamping. I'm one of "those people" who can only work on a cluttered desk ;o)
 After the glue dried on the piece, I'm ready to start decorating!
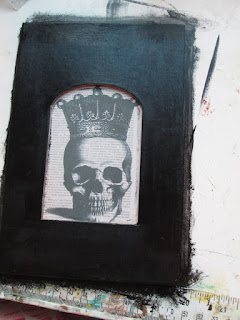 I paint the whole frame with black acrylic paint, including the sides. I did actually mean to get a little of the paint on the picture, I wanted to give it some more interest. That's my story and I'm sticking to it.
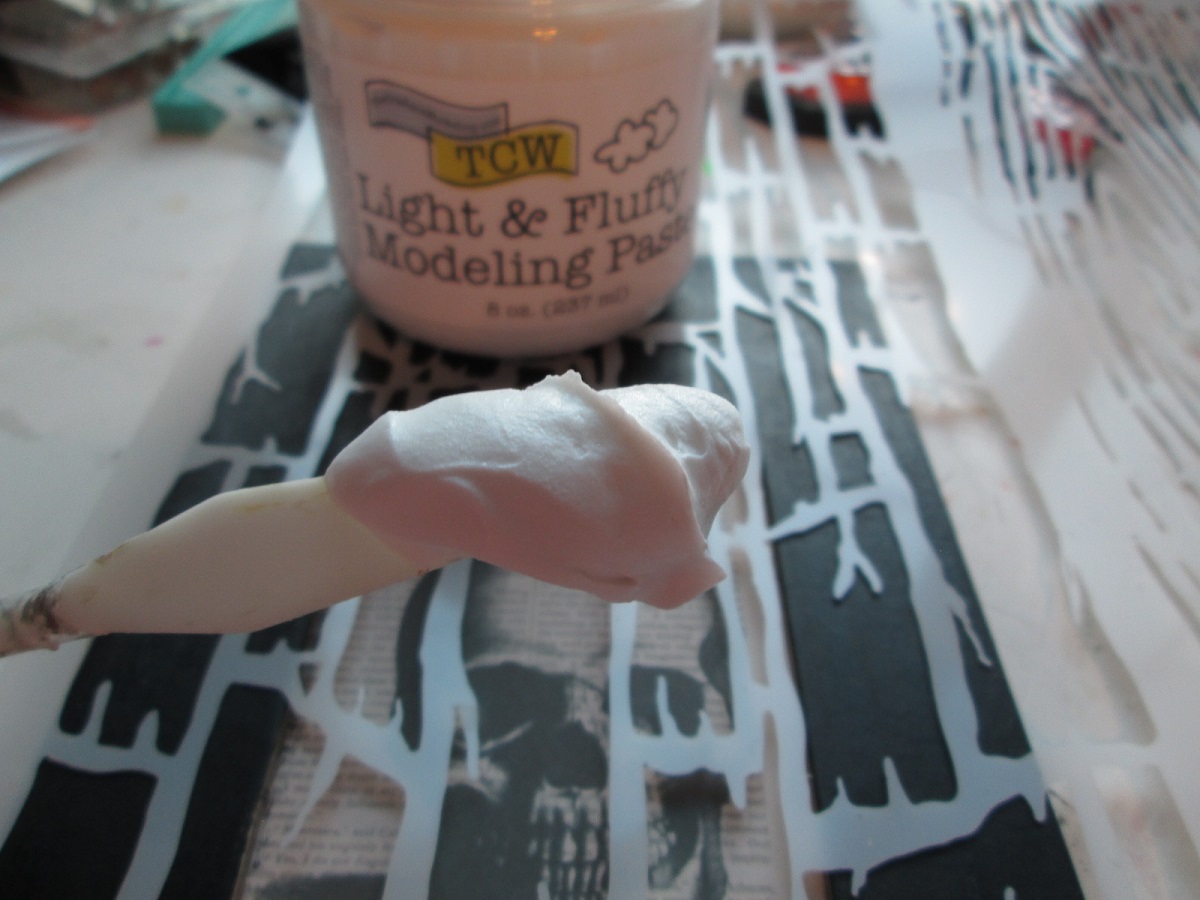
 Now I want to use this awesome Hard Texture (Gabrielle Pollacco) stencil from TCW. I love that it looks a bit creepy when turned this way!
 I use a plastic palette tool to spread the molding paste. Get a decent glop on the palette (bottom side, not top) and start to spread it on to the stencil. You can go pretty thick with this but I like a lighter touch so I just put enough on to cover.
 After I have my area covered, I use the palette tool to pat the molding paste and make a "peaky" texture.
 Just press lightly on the paste and lift up. I go in multiple directions for an uneven texture. I'm going almost for a stucco look. TIP - Use washi tape or other low tack tape (blue painters tape) to hold your stencil in place. It won't mark your surface and removes easily. I use a dryer or heat gun to lightly dry the molding paste. I don't dry it completely, I'm just looking to set the paste a bit so it doesn't drag as I lift the stencil. If you use a heat gun, DO NOT use it close to the paste or stencil, as you can melt/burn either one. Always hold those suckers at least 20 inches away from anything you are just wanting to dry.
 I remove the stencil and immediately clean it in warm water. Molding or Modeling paste is not something you want left on your stencils. Always take care of your stencils and they will last a long time.
 For the text on this piece, I use another TCW stencil called Wanderlust (Gabrielle Pollacco). You can see how many different projects you could use these stencils on. I'm just using the text part on this piece.
 I did the exact same thing as with the first stencil, except I did not texture the lettering. I will admit, I went a little thicker on the paste this time and I think with lettering, less would be better. I could scrape it off and use a baby wipe to clean it further, but I actually don't mind imperfections, I think they are lessons and I will leave them in my work from time to time, especially for pieces I make for myself, like this one.
 I use a watered down grey acrylic paint to wash over the dried paste. Some of the wash will get on the black background but I will clean that up later, by touching up the paint.
 I am leaving the text white (paste color) intentionally. I want it to stand out.
 I use a dry brush technique to add some brown and green acrylic to the texture. Using a dry brush (not dipped in water) I dip it lightly into the acrylic color I want.
 Now I will tap off excess.
 Here I have lightly brushed across the texture. The dry brush will hit the peaks of the textured paste and add dimension. I do this with brown first, let that dry, then add a bit of bright lime green in the same manner. Now I go back in with a smaller brush and my black acrylic and clean up some of the lines that got covered with the gray wash.
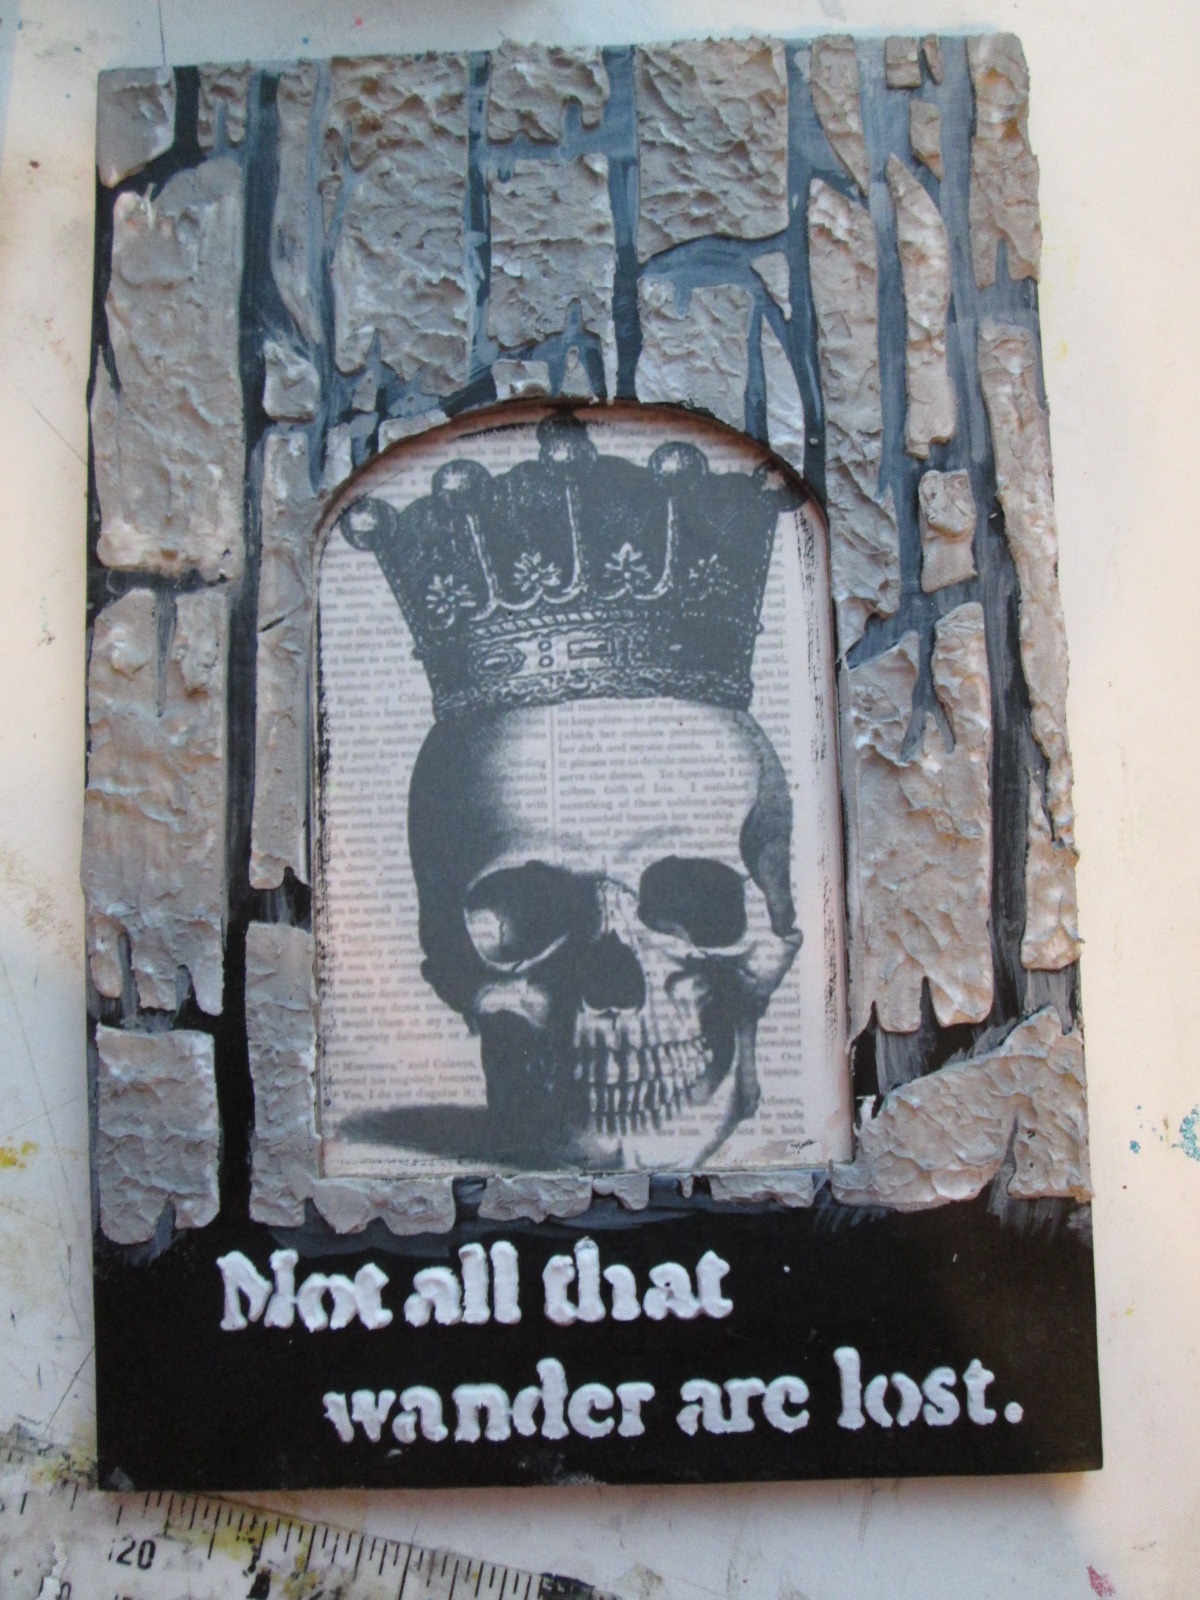
 Here is the completed piece! After it all dried, I used a patterned paper, cut it to the dimension of my frame and attached the piece to it. Put a piece of cardboard behind it and close up the back part of the frame. No glass on this one as I want the texture to be out in the open. Glass would look funny on it.
I hope you enjoyed this work. Please visit our website AlteredPages.com to see more of The Crafters Workshop stencils. Click on any of the supply links and see all the cool stuff we have to play with!
Hugs!
Jen R


Supplies:
Substrate - I used one from my stash which is a pre-made photo holder. You could definitely use an art board or other substrate for this.
STENCILS - from The Crafters Workshop- I used 2 different 12 x 12 stencils, both by Gabrielle Pollacco. For the main texture, I used her "Hard Texture" stencil and for the text, I used her "Wanderlust" stencil.
Collage image: from Altered Pages - Skeletal Remains
Adhesive
Moulding paste
Palette tool
Acrylic Paint

Ready to start! Now to choose which collage picture I like best.. Sooo many to choose from on AlteredPages.com.


I hope you enjoyed this work. Please visit our website AlteredPages.com to see more of The Crafters Workshop stencils. Click on any of the supply links and see all the cool stuff we have to play with!
Hugs!
Jen R

Comments
Post a Comment