
Hello again! Jen Rothstein (Dog-Ma Studio) here for Altered Pages. Today I have an easy customized set of note cards. These can be used as Valentines Day cards, but they are suitable for any time you want to use a personalized note card. I like to use them to thank friends or just as a little pick me up sent to a friend in need. They are blank inside so you can write for any occasion.

Supplies:
Blank Note cards with envelopes. Here I use a set of 3 from my stash.
Matte Medium or any paper glue
Images cut from Sabor Amor paper line
Spray Mists in 2 or 3 different colors
Stencil or mask
Stickles
Stick on embellishments
Metallic Rub on wax
Alcohol Ink
Tissue paper
Washi tape
or ribbon
**Embossed metal - I cut heart shapes from ones in my stash, you could either omit this step, or just use paint, glitter or even a clear gloss to make the hearts pop.

My usual starting process. You can see below, I ended up using a larger stencil so I could cover all the note cards and envelopes in one step.
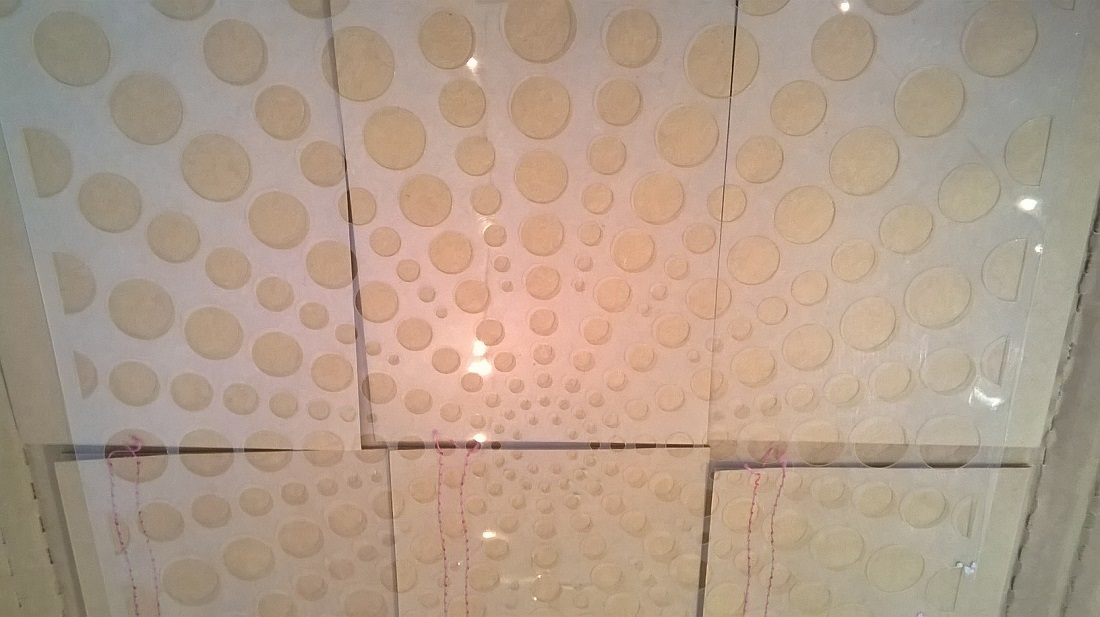
Here I have placed all 3 note cards and envelopes under the 12 x 12 stencil I selected.

I start by lightly spraying each color in turn. I start out with the pink, add the teal and then dry. I put the white as a splatter pattern on top of that. Feel free to get creative with color here.

Next I add a bit more spray, in the same colors, to give them more intensity.

Finished spray


Here is a stash of pre-embossed thin metal. I just cut some free hand heart shapes out to fit into the center of my designs, then I dripped alcohol ink on top in coordinating colors.
Chose my images from paper. Now to fussy- cut each one out.


First I add some tissue papers in coordinating colors. I just ripped some pieces of blue and hot pink tissue and applied one random piece of each color over sprayed pattern. Then I glue on my image. At this time, I add the washi tape to the edge of the card.


Here I am putting on the glue in the center of the image, a bit thicker, so it will hold the metal piece securely. Once I have the metal bit in place, I go over the entire image again, with the glue (matt medium).

I am using the metallic rub on wax to add a bit more of the metal look to the edge of the card. No, I did not sew the cards, they actually came with that sewn accent.

Add glitz in the form of a stick on gem and Stickles glitter and cut off any tissue paper overage and then you are done!

Thanks for looking and I hope you feel free to play and make some cards of your own!
Jen, how fabulous! Love the use of the large stencil for maximum results.
ReplyDeleteI like the stencil idea, too. It's a nice idea so that the cards coordjnate with each other without being identical. The set would make a great gift.
ReplyDelete