May the Fiesta last all year long!!
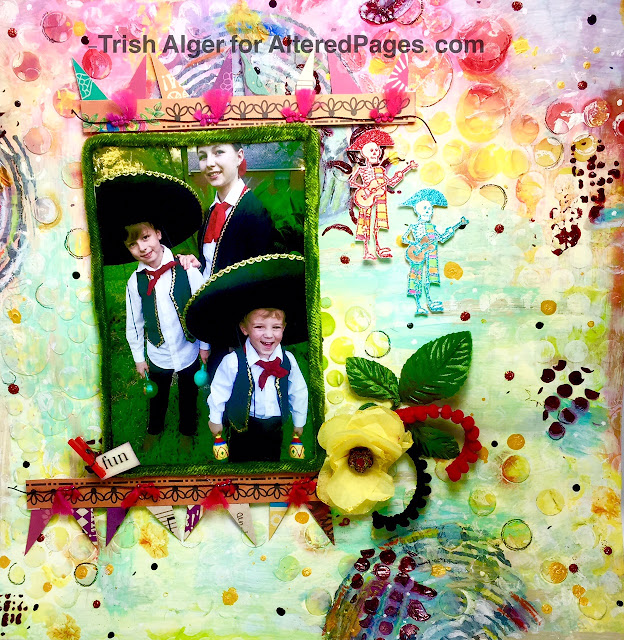
What does a combination of Sabor papers, an adorable Mariachi skeleton stamp, a cute set of mariachi kiddos, and tons of mixed media texture add up to? My favorite scrap page yet!
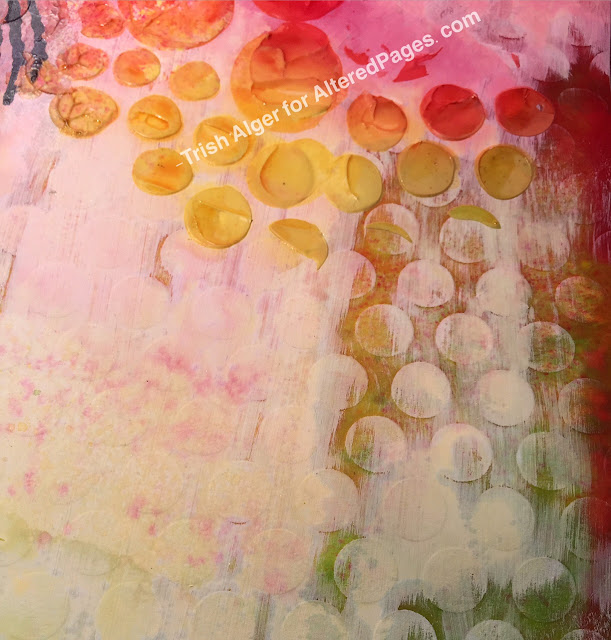
Scattered dots continue to unify the circular design pattern.
Set it aside to completely dry. Using strips and scraps of Sabor create a couple of banners. Top with some trim.
My friend, Melissa, shared her Mariachi kiddos with me. So stinkin' cute!
I adhered the photo to a piece of chipboard then trimmed it.
Use pop dots on the back of the photo and banners, it will raise it above the textured surface.
Next up are the Skelly Mariachis. Embossed and watercolored, then fussy-cut.
I used pop dots on them as well.
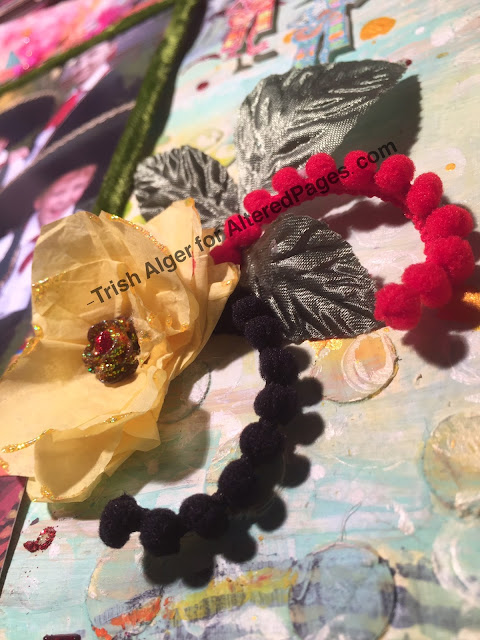
Let's assemble the rest. A tissue flower with Stickles and pom pom trim over silk leaves.
I clipped a word from the vintage image sheet, covered it in glaze, and used a mini clothespin to hold it in place.
What a colorful memento to gift a friend.
I am having a personal scrapbooking revival! This festive page was just the process to rev me up. Come on! Scrap along with us. The amazing-est Design Team is working hard to bring you inspiration. Please let us know you were here and what projects you are working on.
Ciao for now,
-Trish Alger
What does a combination of Sabor papers, an adorable Mariachi skeleton stamp, a cute set of mariachi kiddos, and tons of mixed media texture add up to? My favorite scrap page yet!
Now, how festive and cute-as-a-button is this?!
Here is my abbreviated supply list:
Sabor Papel -assorted scraps
-trim, embossing powder, flowers, leaves, mini clothespin, etc...
That's just the beginning of what you can use. Destash people!
I grabbed a textured 12x12 paper that was handy. I gessoed over for a great surface to work on. It cuts down on warping.
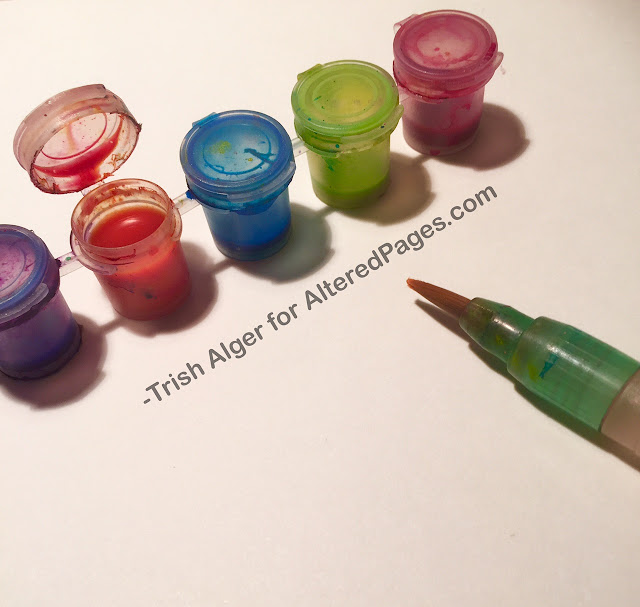
I mixed my inks, chose some sprays and I was off and crafting.
I needed a few layers of texture as my foundation. Scrape the mediums through stencils. Love to use black gesso as a texture.
Color and more color.
If you spritz some water first, then the colors "bloom", and the edges soften and blend in.
The layers of color just keep coming.
Change up your layers. Inks, some paints, then glazes, repeat.
Texture for miles! (Okay that's an exaggeration).
I used the circle stamp with white paint.
Dimensional paints, pencils, and markers. Even oil pastels on last.
Set it aside to completely dry. Using strips and scraps of Sabor create a couple of banners. Top with some trim.
My friend, Melissa, shared her Mariachi kiddos with me. So stinkin' cute!
I adhered the photo to a piece of chipboard then trimmed it.
Use pop dots on the back of the photo and banners, it will raise it above the textured surface.
Next up are the Skelly Mariachis. Embossed and watercolored, then fussy-cut.
I used pop dots on them as well.
Let's assemble the rest. A tissue flower with Stickles and pom pom trim over silk leaves.
I clipped a word from the vintage image sheet, covered it in glaze, and used a mini clothespin to hold it in place.
What a colorful memento to gift a friend.
I am having a personal scrapbooking revival! This festive page was just the process to rev me up. Come on! Scrap along with us. The amazing-est Design Team is working hard to bring you inspiration. Please let us know you were here and what projects you are working on.
Ciao for now,
-Trish Alger


I am wildly in love with this!!!!!
ReplyDeleteAww, thanks Jean! I'm kinda partial to it myself! Ha.
ReplyDelete