Can you believe is it DECEMBER? There are 24 days of shopping left until Christmas!!! December is special for the Altered Pages Design Team... our product partner for the month is ACTIVA. We are really excited to share all the wonderful products they have. Today I am playing with Activa Ridge Wrap.


To start gather your supplies to work with Ridge Wrap: scissors, balloons ( small water balloons), container for warm water, protective cover for table.
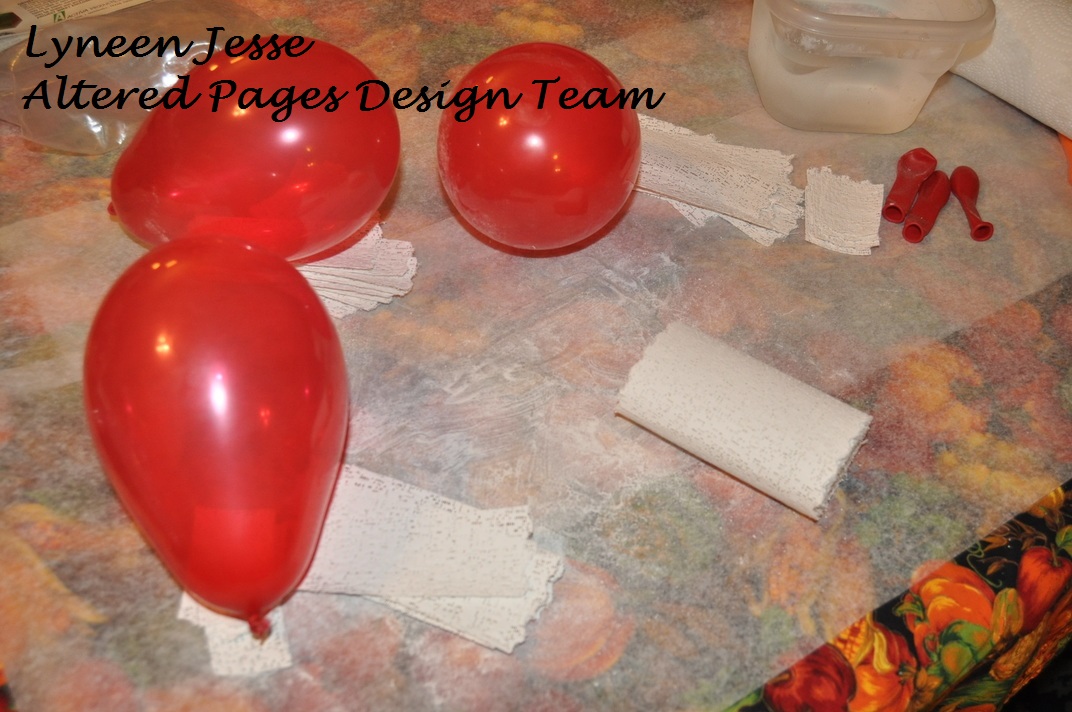
Cut the Ridge Wrap in strips (about 1 1/2 x 4) and blow up balloons... you are now ready to start applying Ridge Wrap.

Wet Ridge Wrap thoroughly in the bowl of warm water, remove excess water. Slightly overlap each piece as you add them to the balloon. When applying, rub the Ridge Wrap to help close the plaster holes in the wrap.

Apply the first layer of Ridge Wrap in one direction. No need to let is dry before applying the second layer.

Apply the second layer in a different direction. Here you can see the second layer at a slight angle.


When finished applying Ridge Wrap set aside to dry. Cut sections of a tube to the rest the balloon on. In about 30 minutes you can remove the balloon.

Snip a little hole in the balloon and it will release from the sides. Remove the balloon and let dry over night.

One package of Ridge Wrap (roll 4" x 180") was able to cover 3 small balloons.
NOW THE FUN PART
Making the balloon in to something!!!

This balloon is going to be covered with Sari Silk Ribbon. Cut pieces about 8 of Sari Silk Ribbon long enough that they will go over the top of the balloon and be able to tuck the ends into the opening of the balloon.

Press with cool iron, then layer the Sari Silk Ribbon alternating bright colors with other colors.

Tie the Sari Silk Ribbon in the center with a ribbon (this will be what you can use as the hanger) and adhere to the top of the balloon with Tacky Glue.

Apply glue stick to the dry Ridge Wrap and layer the Sari Silk Ribbon overlapping pieces a you go. I didn't use Tacky Glue because I didn't want it to show through the Sari Silk Ribbon.

Once the balloon is covered trim the excess, leaving just enough to tuck inside the balloon.

Use Tacky Glue on each piece of Sari Silk Ribbon and fold to adhere to the inside of the balloon!

Make a box for the balloon basket! Here you can see I used a onion mix box.

Cover the box with paper from Laced with Grace, paint inside and distress the outside. Punch holes in each corner for lightbulb safety pins! The balloon ropes will be attached to the pins later.

Tie twine to hold the basket: one piece around the top of the balloon and four pieces about a yard each to attach to the basket. Trim the ropes leaving enough for charms to hang. You can see the ropes are attached to alternating corners!


Have fun creating with Ridge Wrap from Activa!!!
We will have a giveaway this month...
You could win this wonderful book of instructions for working with Activa Celluclay, it is a fantastic moldable, air dry clay perfect for jewelry and mixed media.
We will have a giveaway this month...
You could win this wonderful book of instructions for working with Activa Celluclay, it is a fantastic moldable, air dry clay perfect for jewelry and mixed media.

be sure to comment on the blog each day
for a more chances to win!
for a more chances to win!
Gorgeous hot air balloon! Love all the photos.
ReplyDeletevery very clever - and pretty! I'm a sucker for hot air balloons - and this one would look terrific hanging in my studio. I may have to give making one a shot! Thanks for the ideas!
ReplyDeleteLove all the colors! Awesome idea!
ReplyDeleteSuch creativity! I LOVE anything with sari silks!
ReplyDelete