Hi - Jackie here!
I'm back for another post Featuring our Partner for the month of January~ DecoArt!
DecoArt has been around for ever! teeheehee Okay, I exaggerate! At least for a long time! And over the last year or so they have added such a yummy line of mixed media products- full of rich pigmented colors and all kinds of fun textures and mediums! Check them out- I just know you will find some products that will be on your "have to have" list!
So, let's get started- I had some boxes in my stash that were from a previous project- that did not go well...

First was to cover over previously painted boxes with gesso.
After they dried,
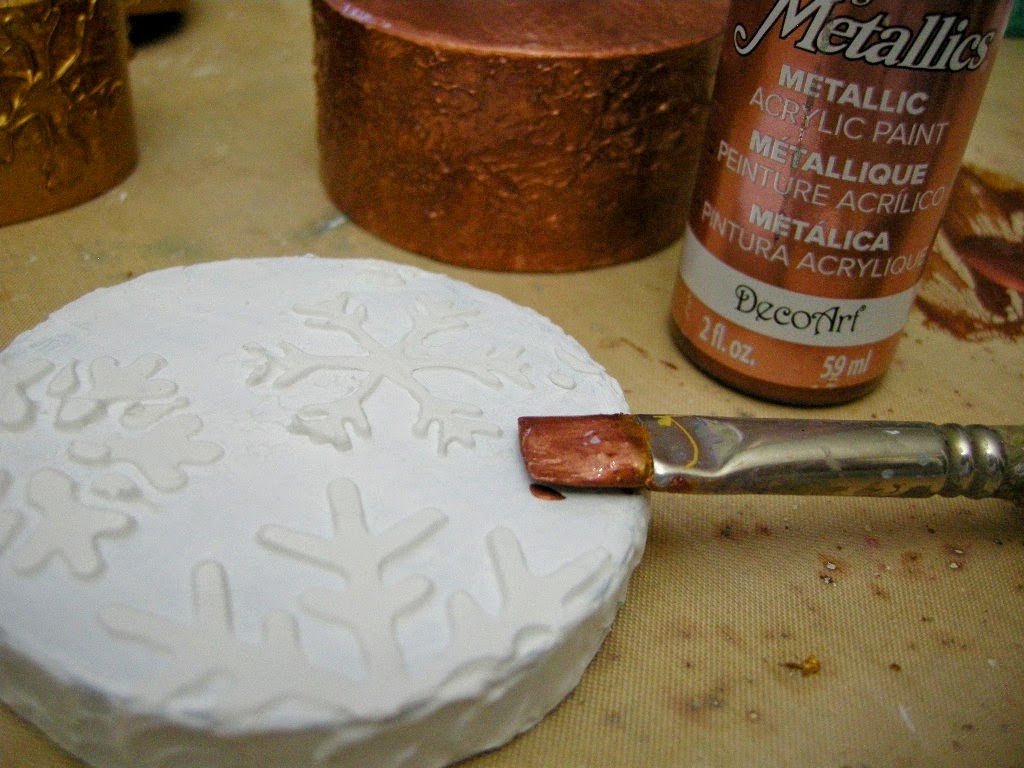
I added flexible modeling paste through a snowflake stencil and waited over night.
Next came my first coats of color~
DecoArt Dazzling Metallics-Worn Penny on the round box
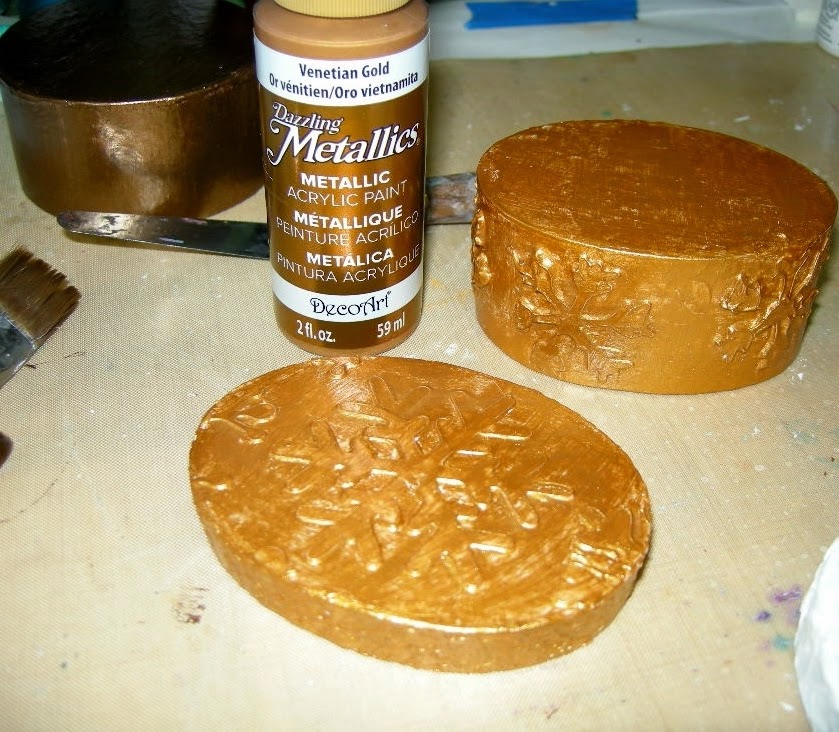
and DecoArt Dazzling Metallics- Venetian Gold on the oval shaped box
Here I knocked back the blues a bit with some DecoArt Media Fluid Acrylic-Yellow Oxide
and then continued adding layer after layer of color till I achieved the look I wanted
Finally came the two coats of DecoArt Media Gloss Varnish to seal in all that beautiful color and texture.
I'm so glad you joined my today! I do hope I convinced your muse to get into your studio and play some art!!
Jackie P Neal ")
Don't forget to stop by my blog for more mixed media fun!
www.creatingwithoutcrayons-jackiepneal
 |
| Products used |
Make sure to head over to AlteredPages.com for all of the Winter Celebration products and inspiration kits!


Beautiful the way you reused the boxes from a previous project♥
ReplyDeleteThanks for commenting Jackie ")
DeleteAnyone would be thrilled to receive your little treasure boxes, filled or empty! Lovely texture and color. THANKS for letting us see your beautiful project.
ReplyDeleteYou are so WELCOME!
Deletehaven't anyone particular in mind who to give to yet- I do know, these look beautiful in front of my window- when the sun hits- mmmmm- they almost radiate!
Love how you stenciled snowflakes on the boxes. Beautifully done!
ReplyDeleteThank you so much Tonya! ")
DeleteWoW, Jackie! What a beautiful transformation of that simple papers mache box to a gorgeous work of art!
ReplyDeleteBarb, what a wonderful comment!! Thank you for that!!- blushing ")
DeleteLOVE them!! repurposing-one of my favs. The colors are rich and vibrant!
ReplyDeleteKaren, I'm all about upcycle,recycling,re-use,re-purpose! teehee Thanks so much for your comments! ")
DeleteThese boxes are gorgeous Jackie, just perfect to store tiny treasures and trinkets. xx
ReplyDelete