
Fun with Foam...

SHAVING foam that is!
Hi all! Becky here today to share a little fun my daughter, Maggie, & I had the other day playing with our Splash Inks & some shaving cream!
The idea is to create your own paper backgrounds with paints or inks in the foam...very similar to a mono-print (or Gelli plate), but a whole lot-a-messy & much more fun!

Here's how to do it...
1. spread plain, cheap shaving cream over the back of a plastic plate. (I didn't have plastic plates, so I covered 2 large oval paper plates with some Press-n-Seal plastic wrap.)
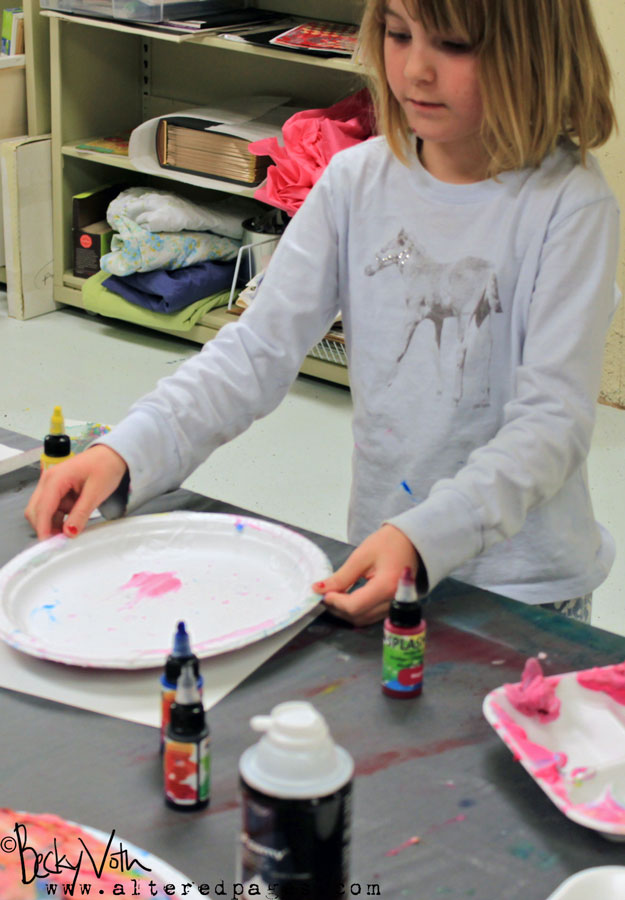
2. Drop some paints or inks onto the shaving cream & spread it around.
3. Turn the plate over onto a piece of paper.
4. Gently lift the paper away from the plate & the scrape the excess shaving cream away.
Here are just a couple more she did...
Here's a couple of mine...
 
Doesn't this one look like a face?
The ones below are the same, just in two different directions...
I love how very different they look just by turning it upside down & it looks like the paint is jumping off the page!

You can find the Splash Inks at Altered Pages, here! Although I used inexpensive mixed media paper, if I had had some Lutrador on hand, I would have played with that!

I hope you enjoyed our little experiment!
Cheers!


Comments

  1. Love the technique AND the fun! good job Maggie!

    ReplyDelete
  2. Great colorful works, love the shaving technique too.

    ReplyDelete
  3. This is one of my favorite, lets get messy techniques Bekky. I particularly love your green yellow and blue one and will now have to try this with the Splash Inks. xx

    ReplyDelete

Post a Comment

Popular posts from this blog

Get on Over!

We like having you visit,  Make sure to subscribe... Just click here - easy peasy November will be filled with Die Cut ART,  join us. Embellish premade pieces art by Barbara Rankin Cut your own pieces Paint or Foil to add interest art by Lyneen Jesse Combine Die cuts in a variety of mediums art by Jean Moore Create with your manual die cutting machine  or buy premade
 Handy Tip for Artists, Recyclers and Neat Freaks! I have a follow-up to the Citra-Sol method for creating fabulous background pages and collages.   I bought a big bag of navel oranges and realized I had the ingredients to make my own solvent!   Simply take a clean glass jar, peel the rind from the oranges and place all the rind/peels, without the pulp (tangerines, oranges, navels) into the jar.   Pour enough vinegar over the peels to cover them.    Allow the jar to sit for a week or two and VOILA!     You have made your own solvent for literally pennies.    You will notice the liquid getting a bit thicker than the plain vinegar and it does not smell bad!!! I now have a  HUGE jar on the window sill!       Be careful and only use this after testing on a safe spot.

DINA WAKLEY Featured Artist

We are SO Proud to present Dina Wakley with her ART and February Tip   (oops, she says she is totally disorganized, so there is HOPE for all of us!) Dina Wakley is a mixed-media artist and teacher. She loves everything about art: creating it, thinking about it, looking at it, and teaching it. Dina is passionate about teaching art. She teaches both in-person and online workshops.  She is a docent at the Phoenix Art Museum, where she gives tours to school groups and gets kids excited about art. As a Ranger Signature Designer, Dina designs a line of mixed-media art supplies that includes acrylic paints, mediums, brushes, rubber stamps, stencils, and more. Look for the Dina Wakley Media Line by Ranger at a store near you.  Dina's books Art Journal Freedom and Art Journal Courage are available now. Also look for three new North Light DVDs starring Dina, available this month: "Art Journal Mark Making and Throwing Ink," Art Journal Color Courage," and &q